Take a look around town with your 3-D glasses
Part of my day job involves working with stereo imaging as it can be used to derive the shape of planetary surfaces. This page is just some fun (and educational) stuff I put up to hopefully encourage folks to check out the rest of the site. If you like what you see, please consider voting for me on October 6 and donating to my campaign. Scroll down to see how 3D anaglyphs work, how to make your own glasses, where to find additional images, and how to make your own images. Expand your browser to full screen and click on an image to change to “lightbox” mode and make the images larger. The Red lens goes over the left eye, and the Blue lens goes over the right eye.
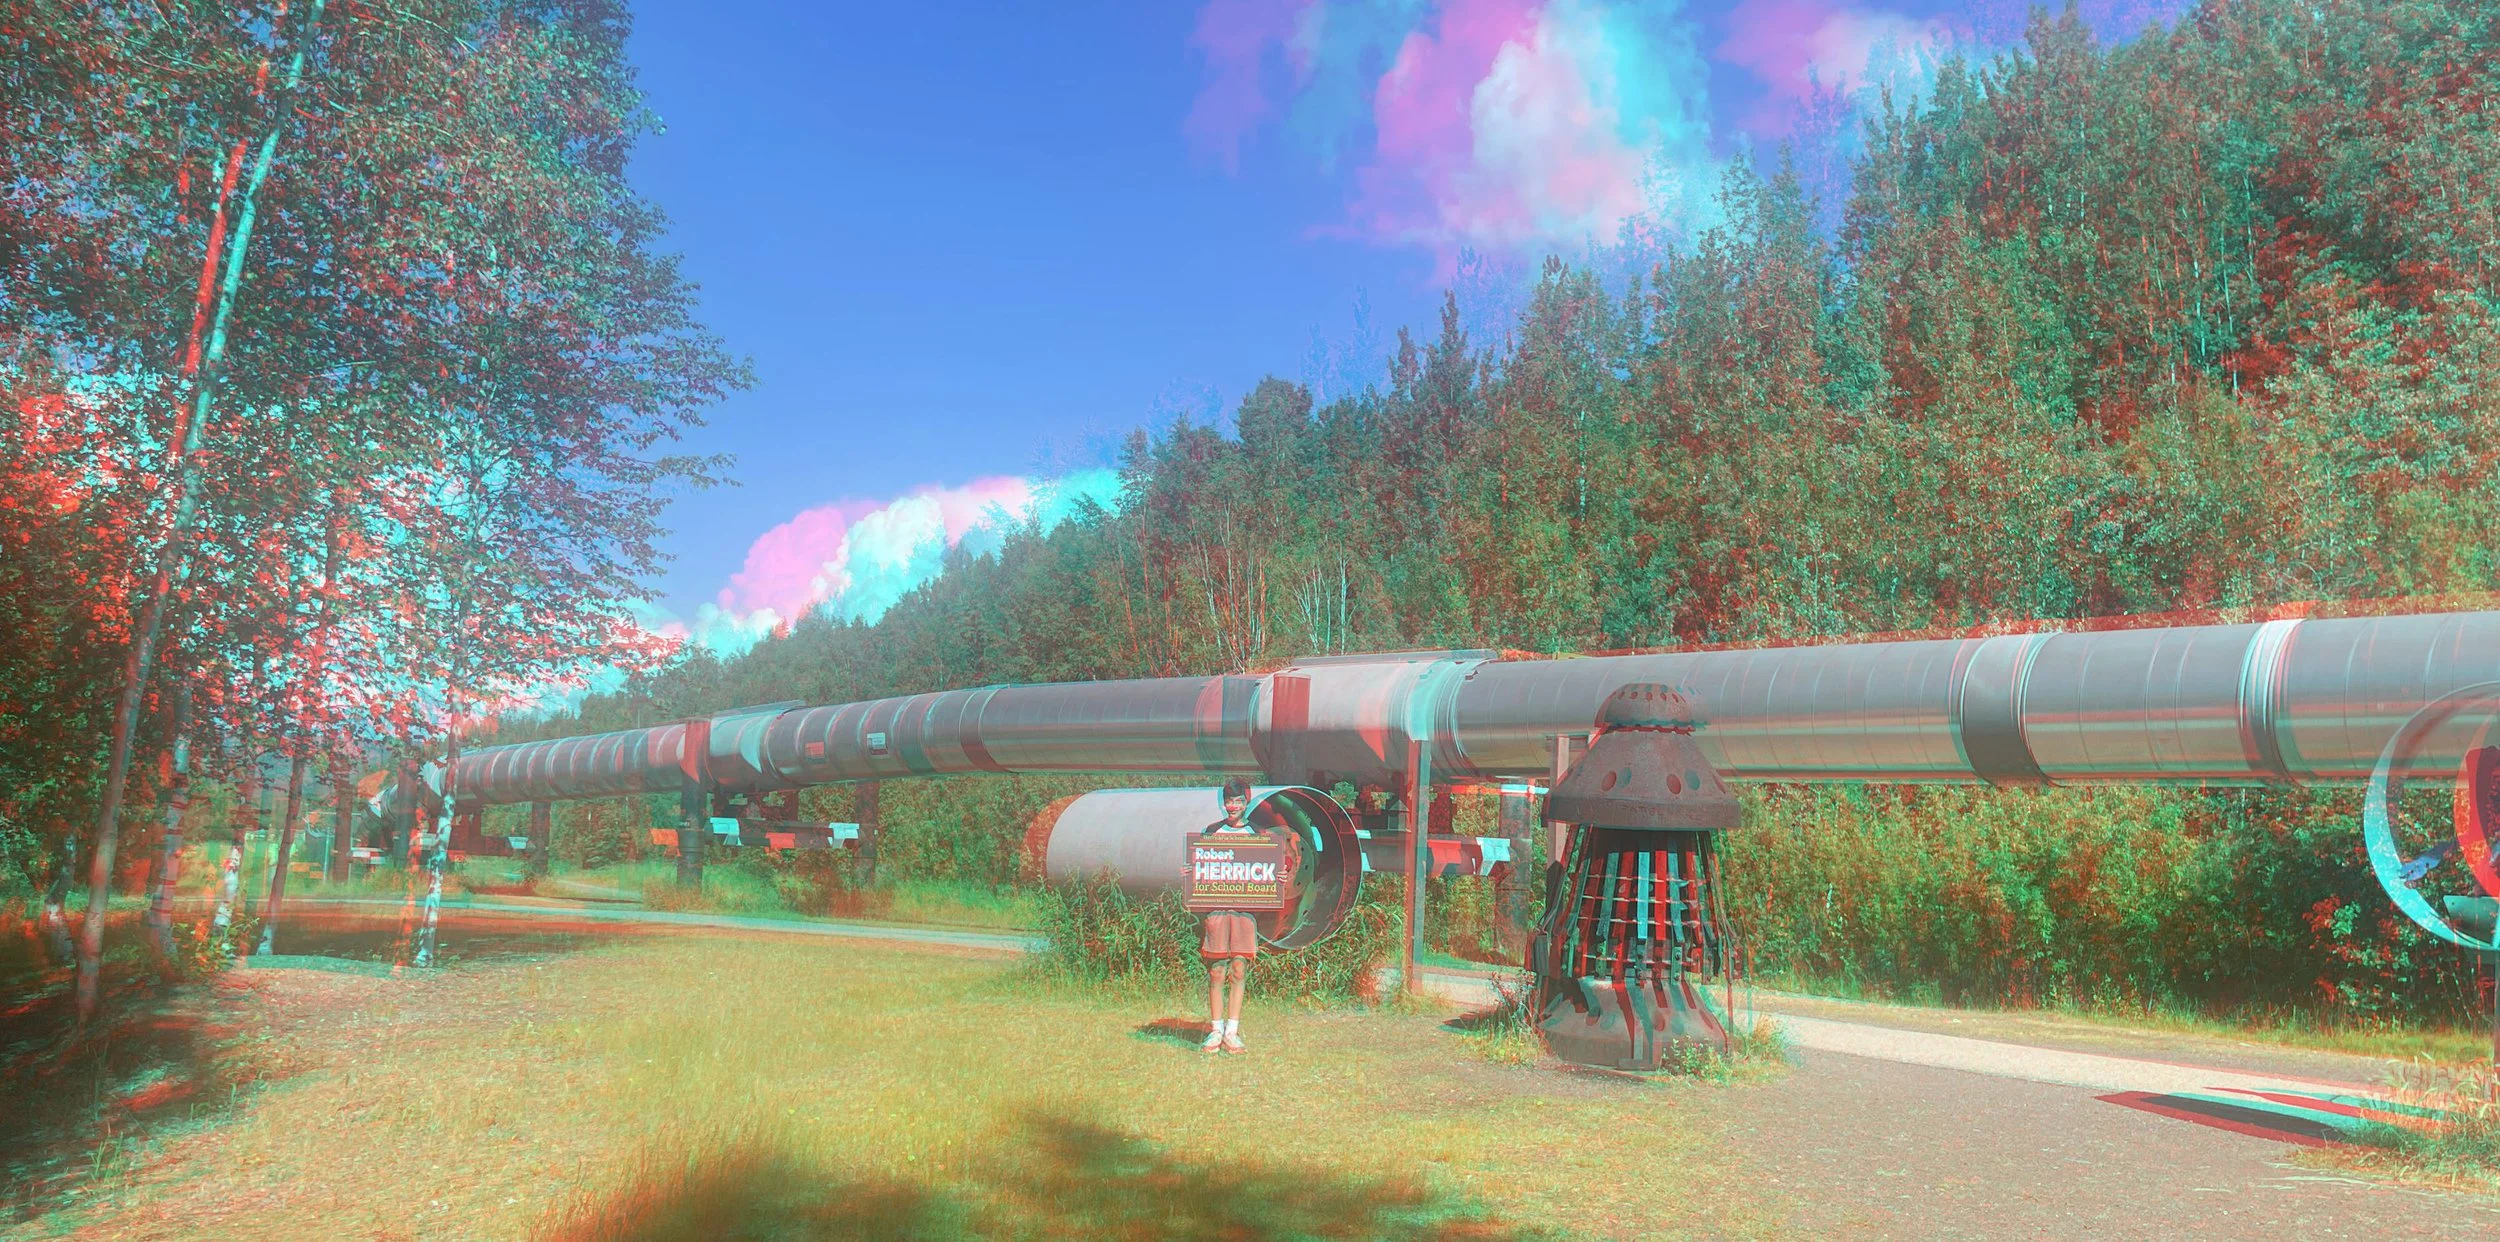
Pipeline pullout
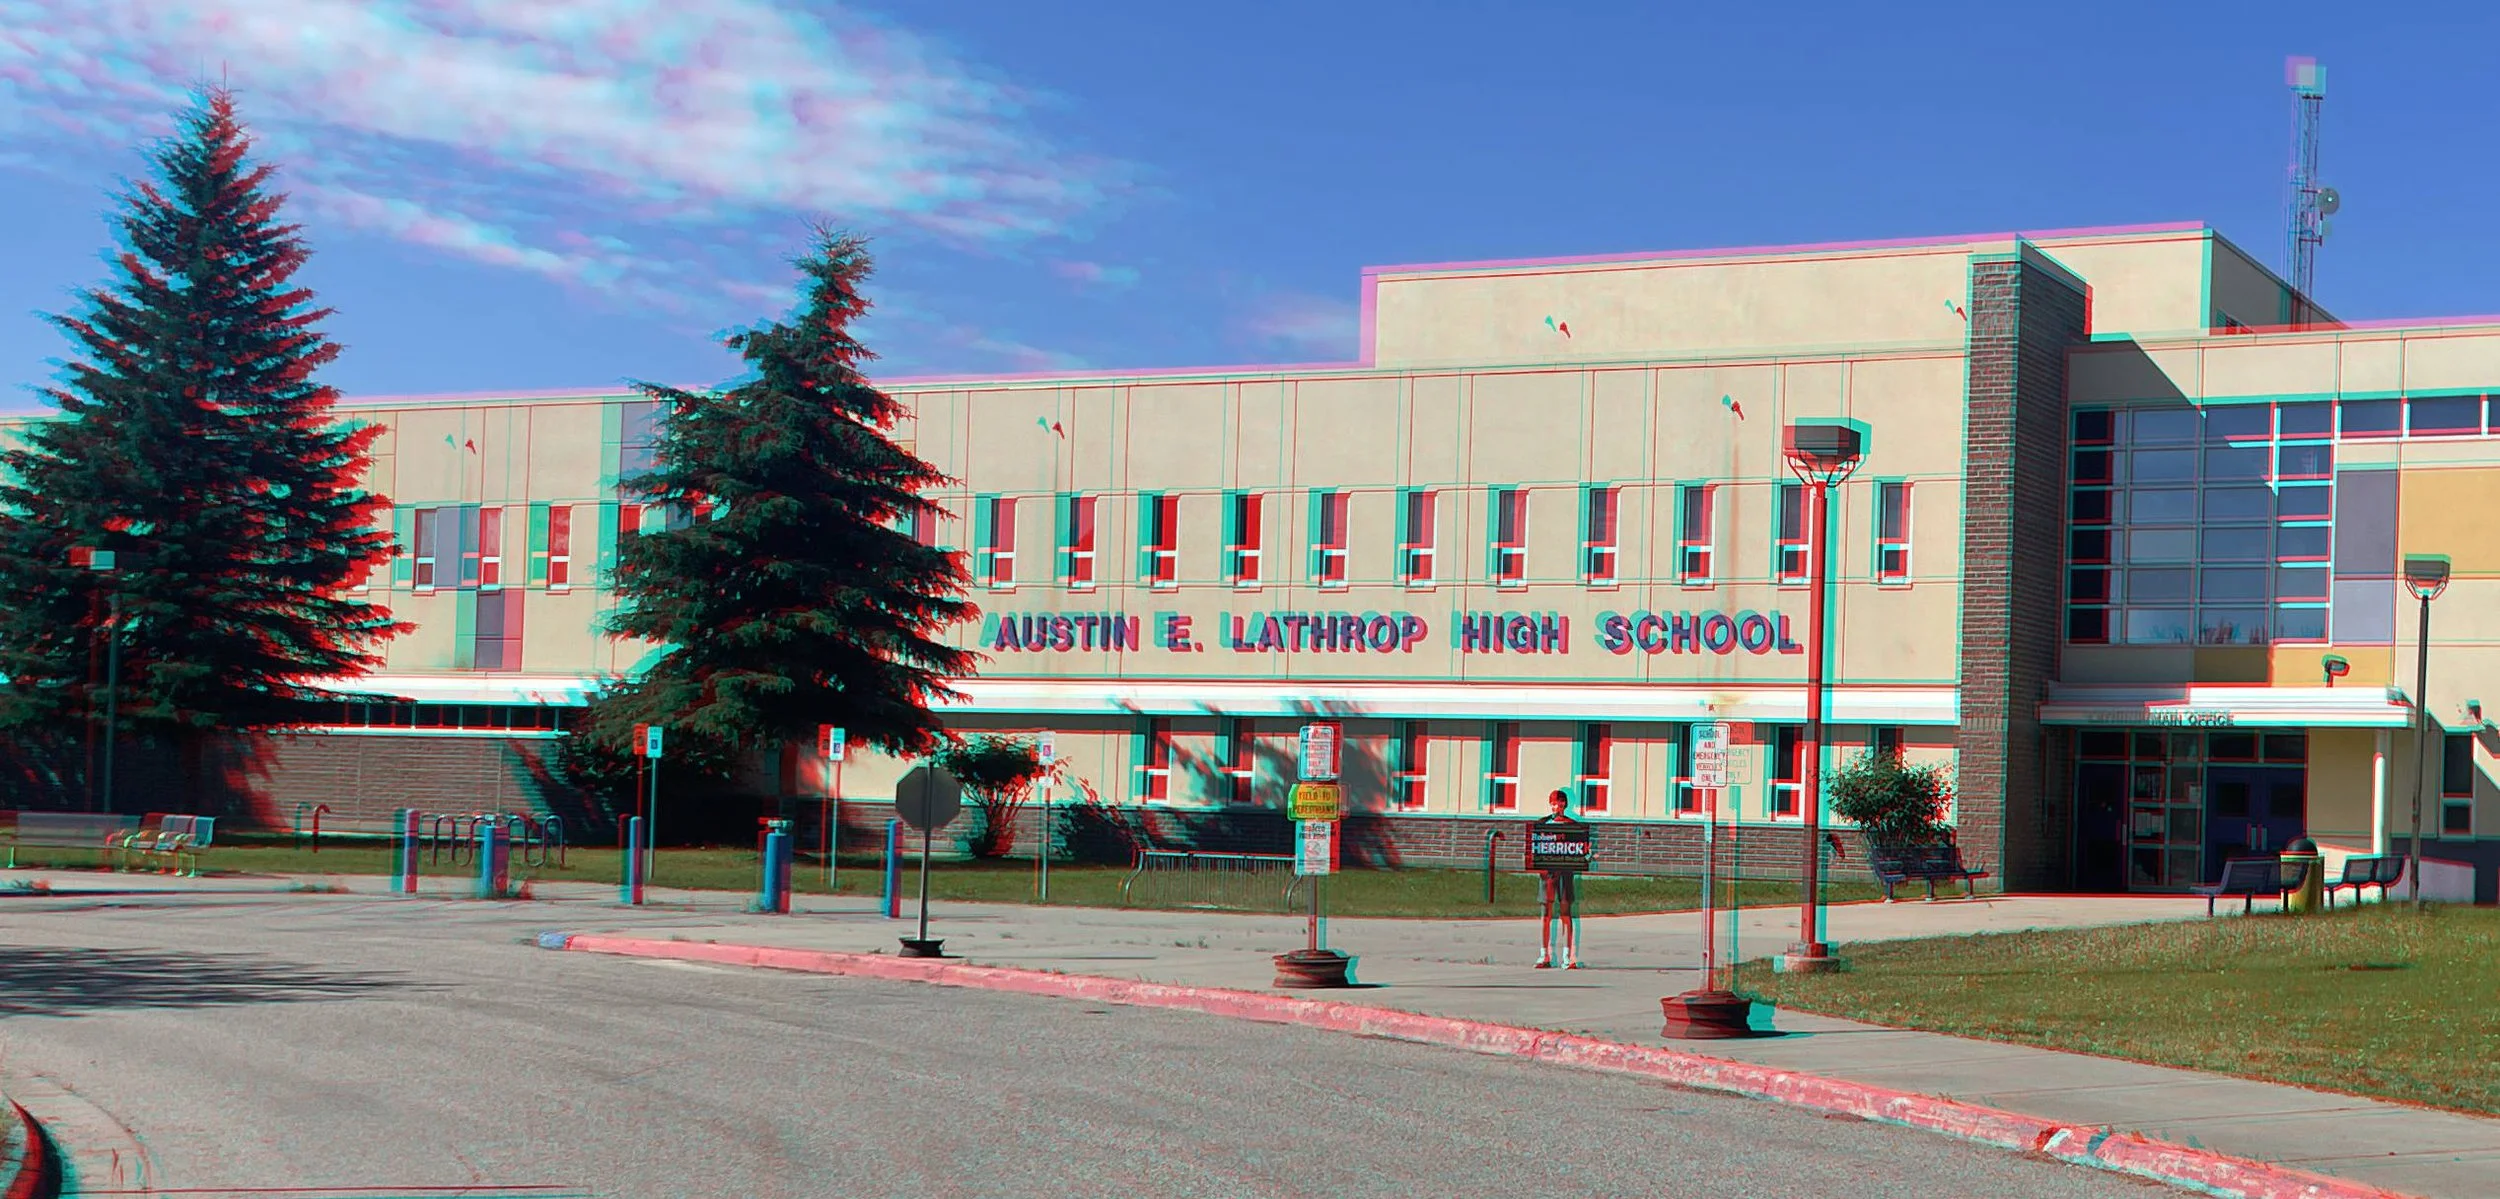
Lathrop High School
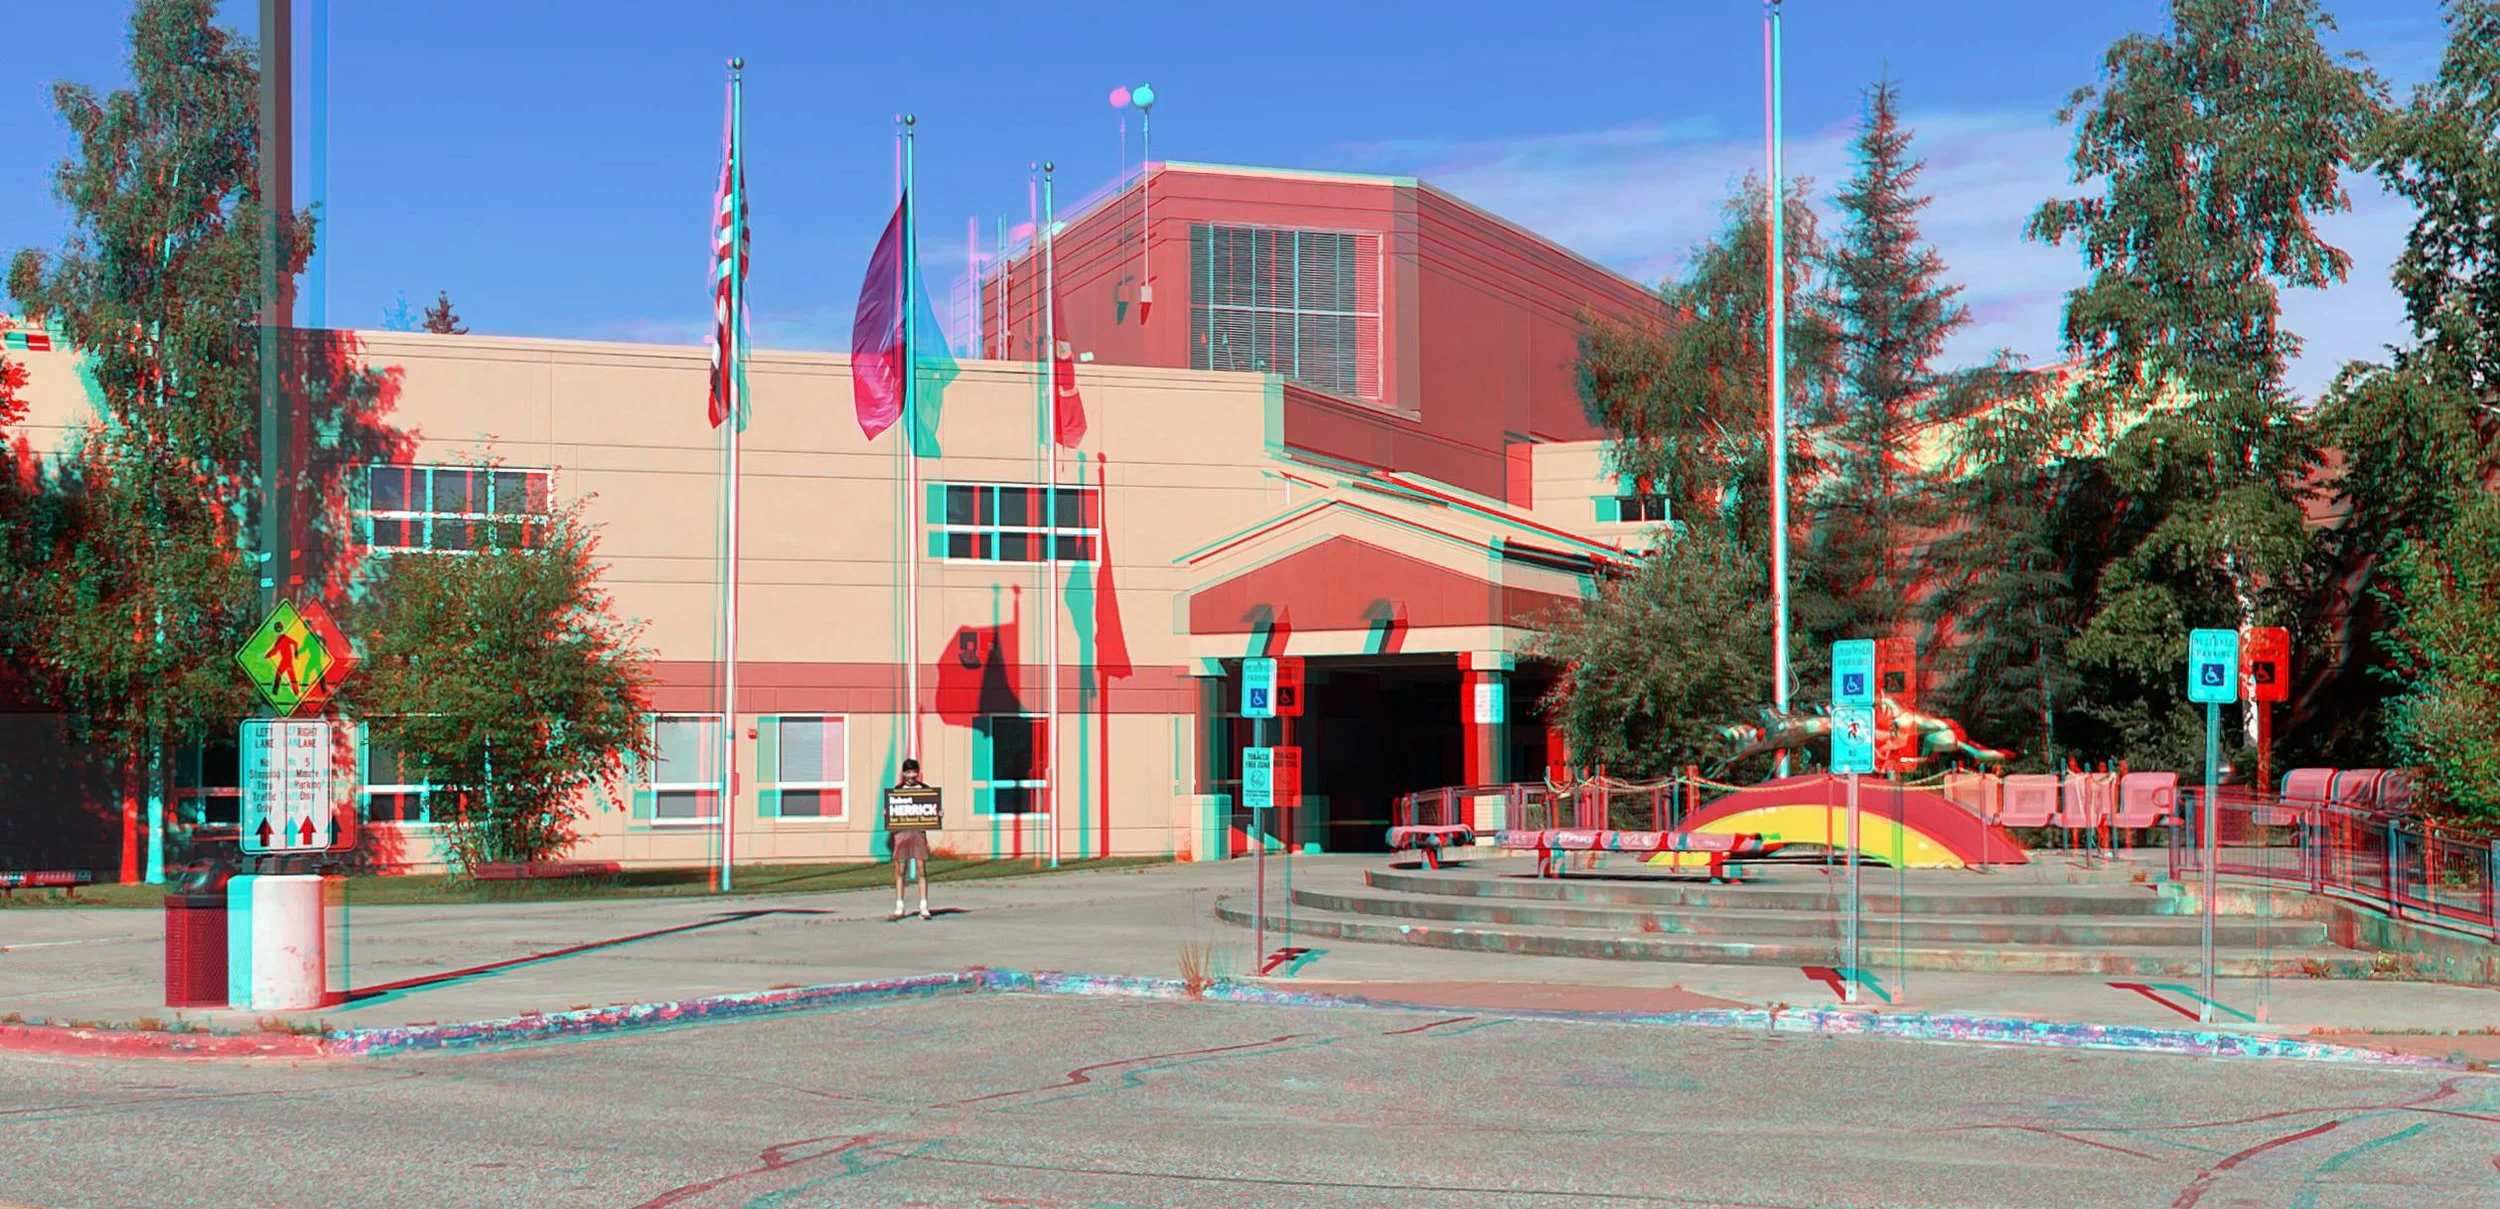
West Valley High School
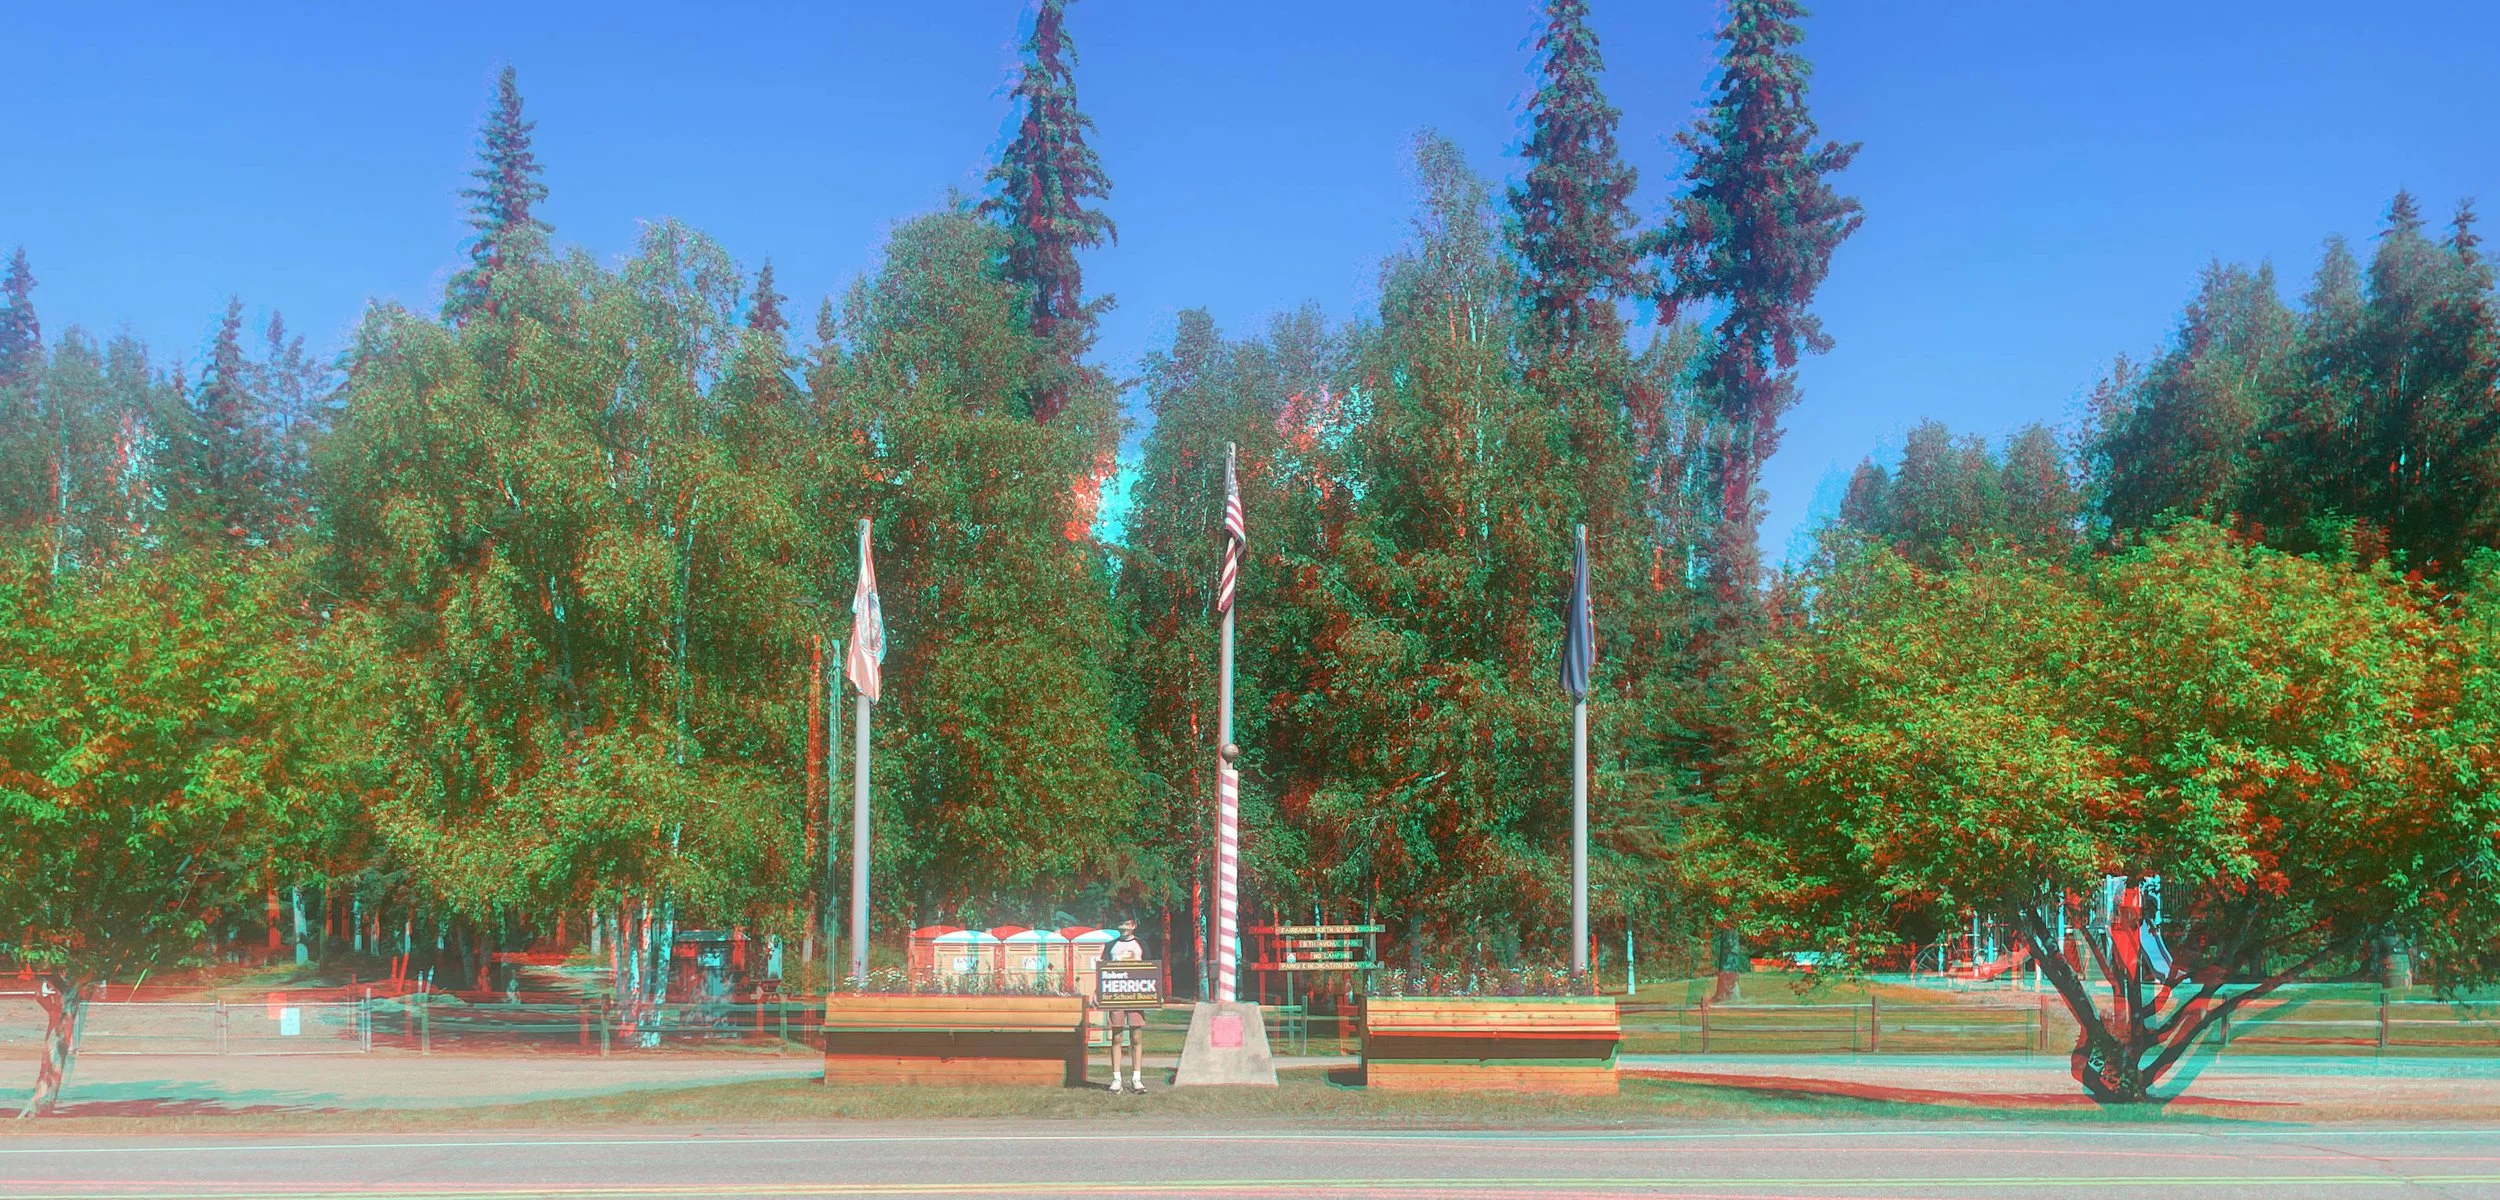
5th Avenue Park, North Pole
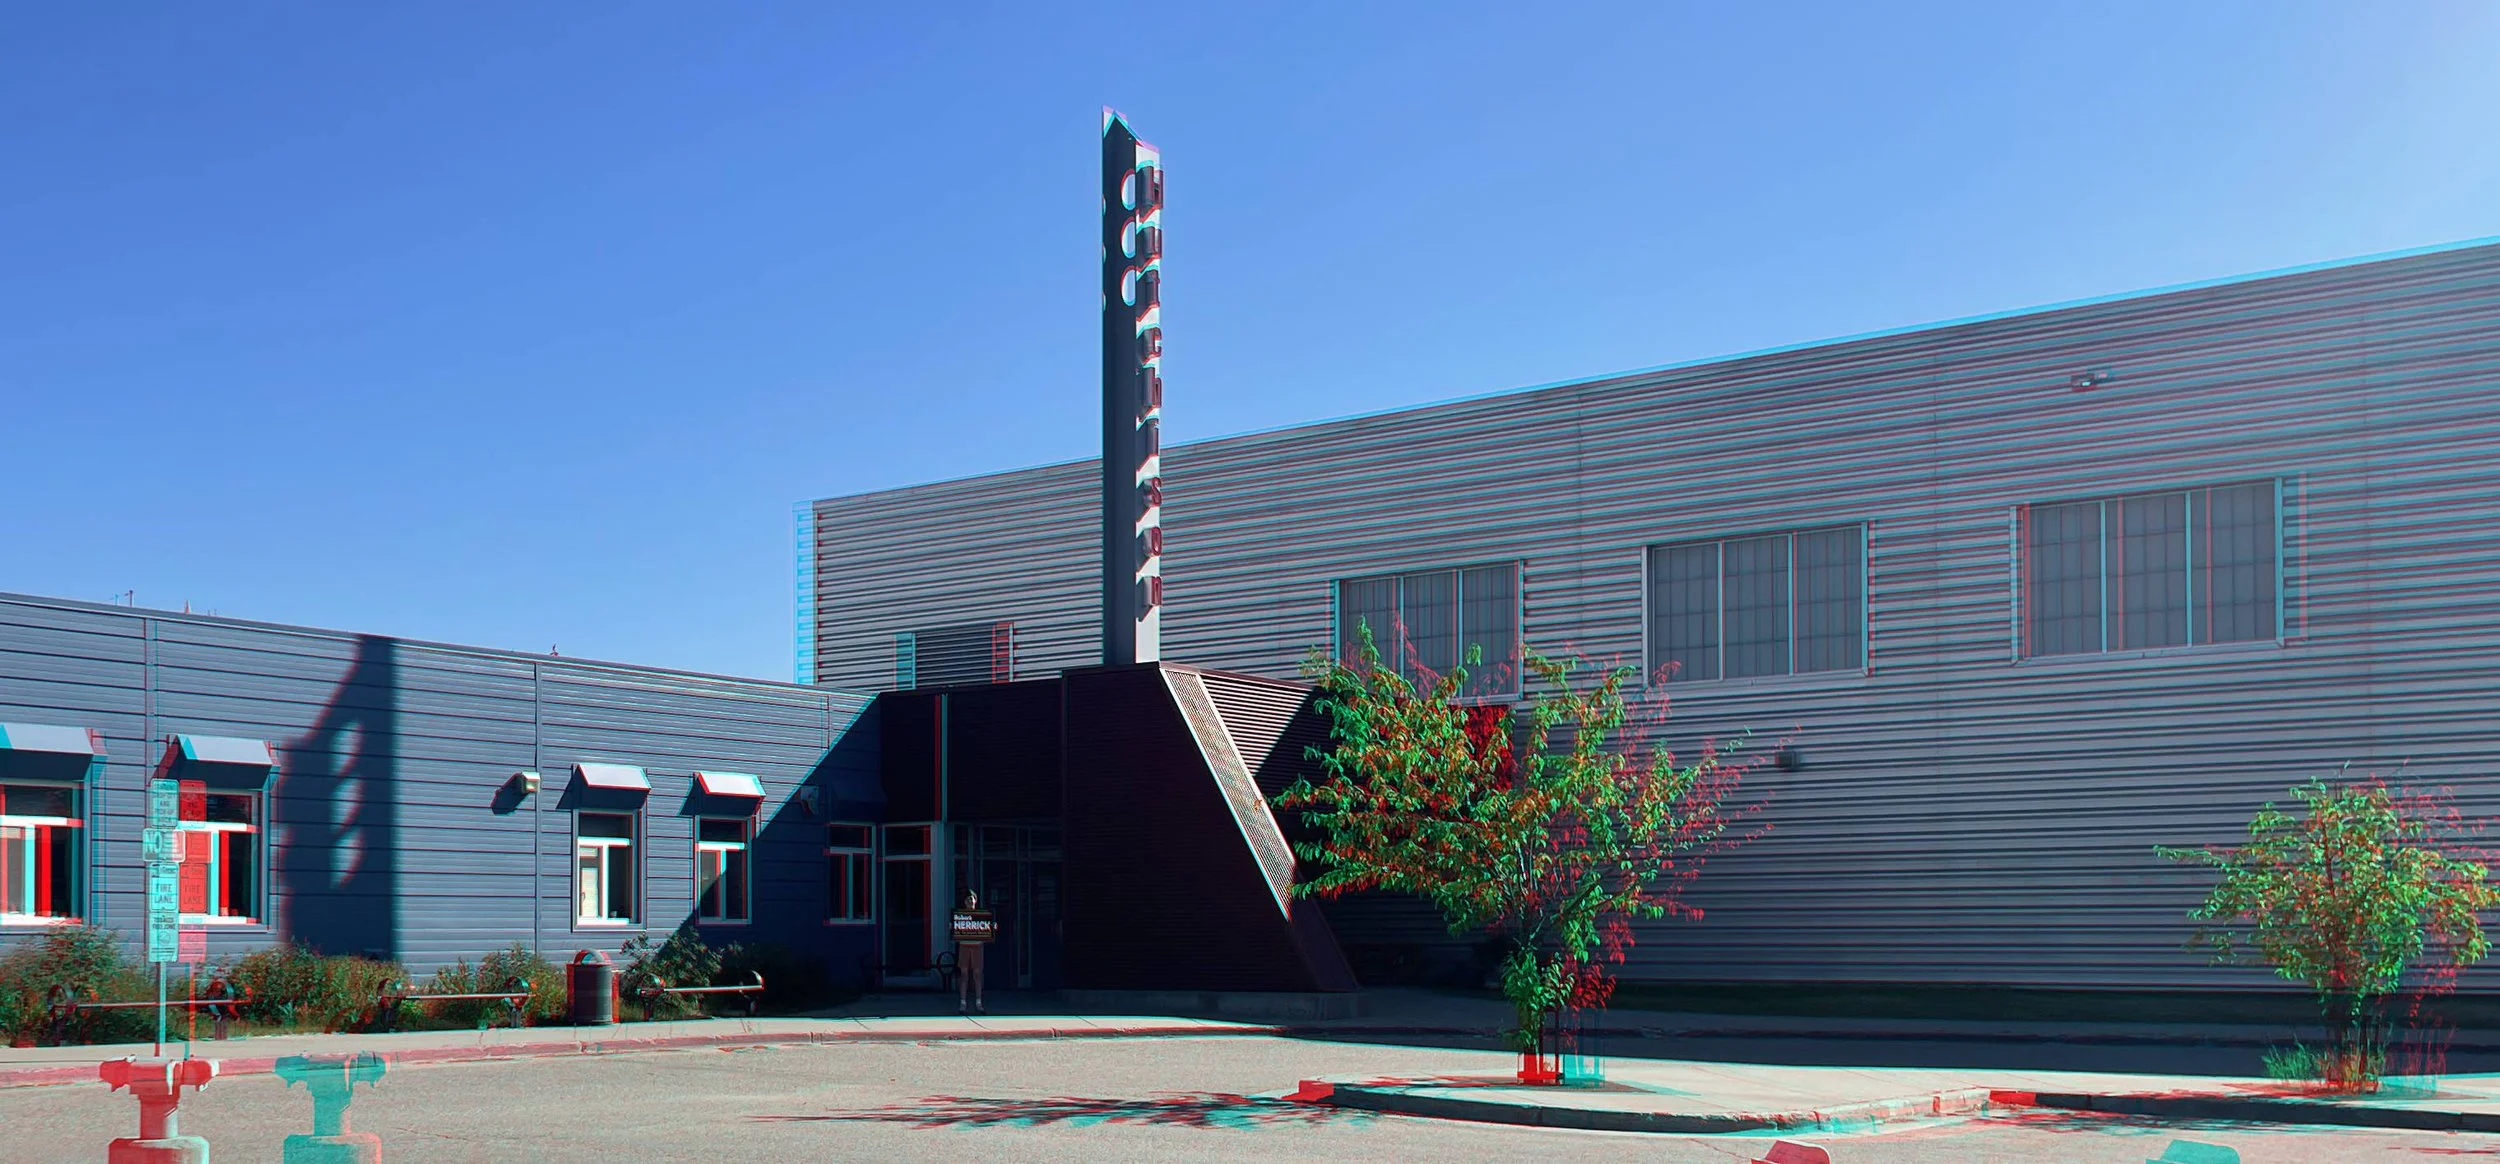
Hutchison High School
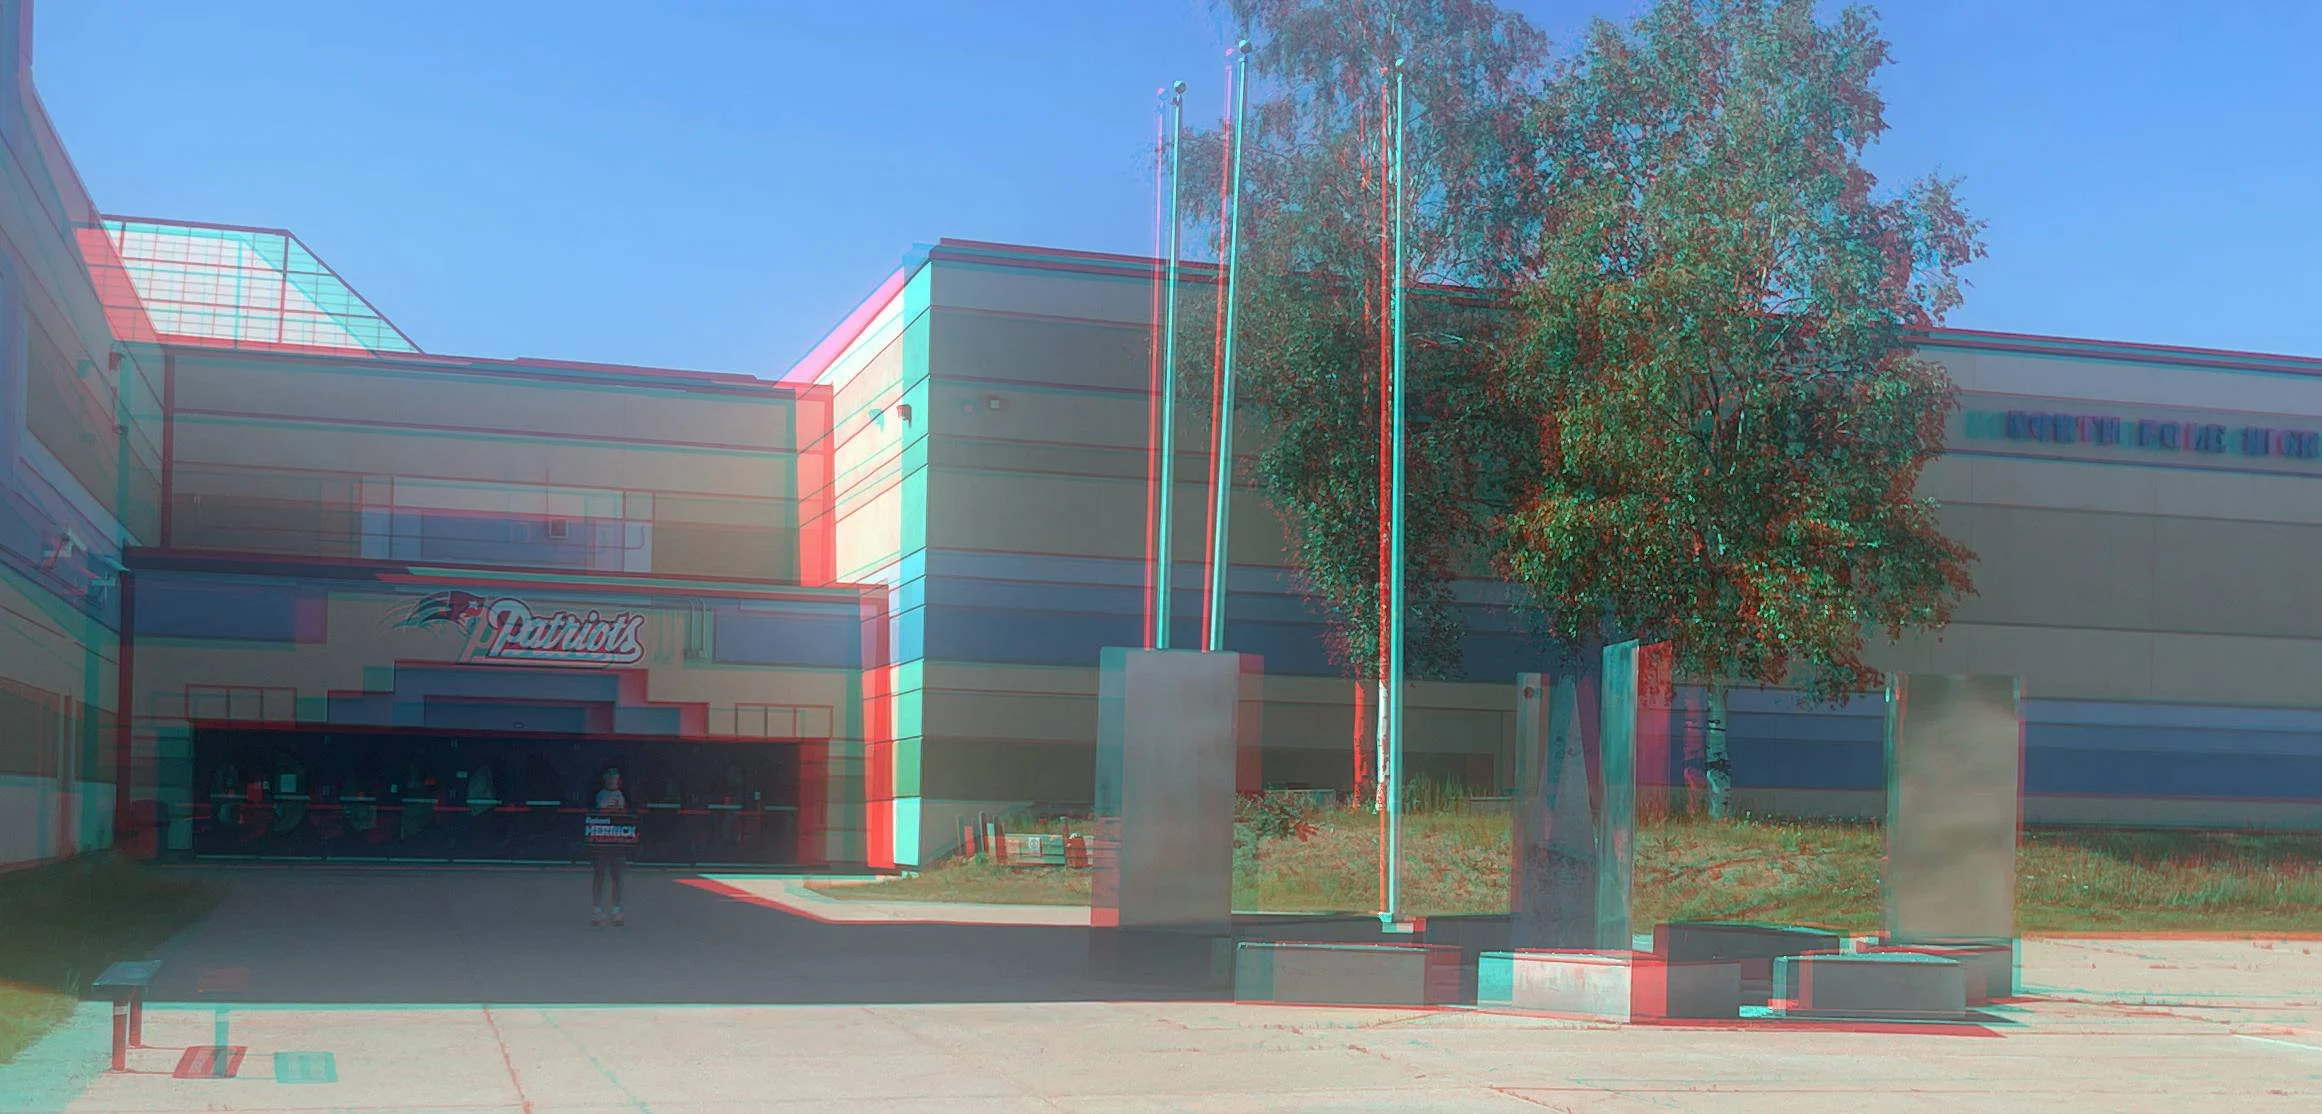
North Pole High School
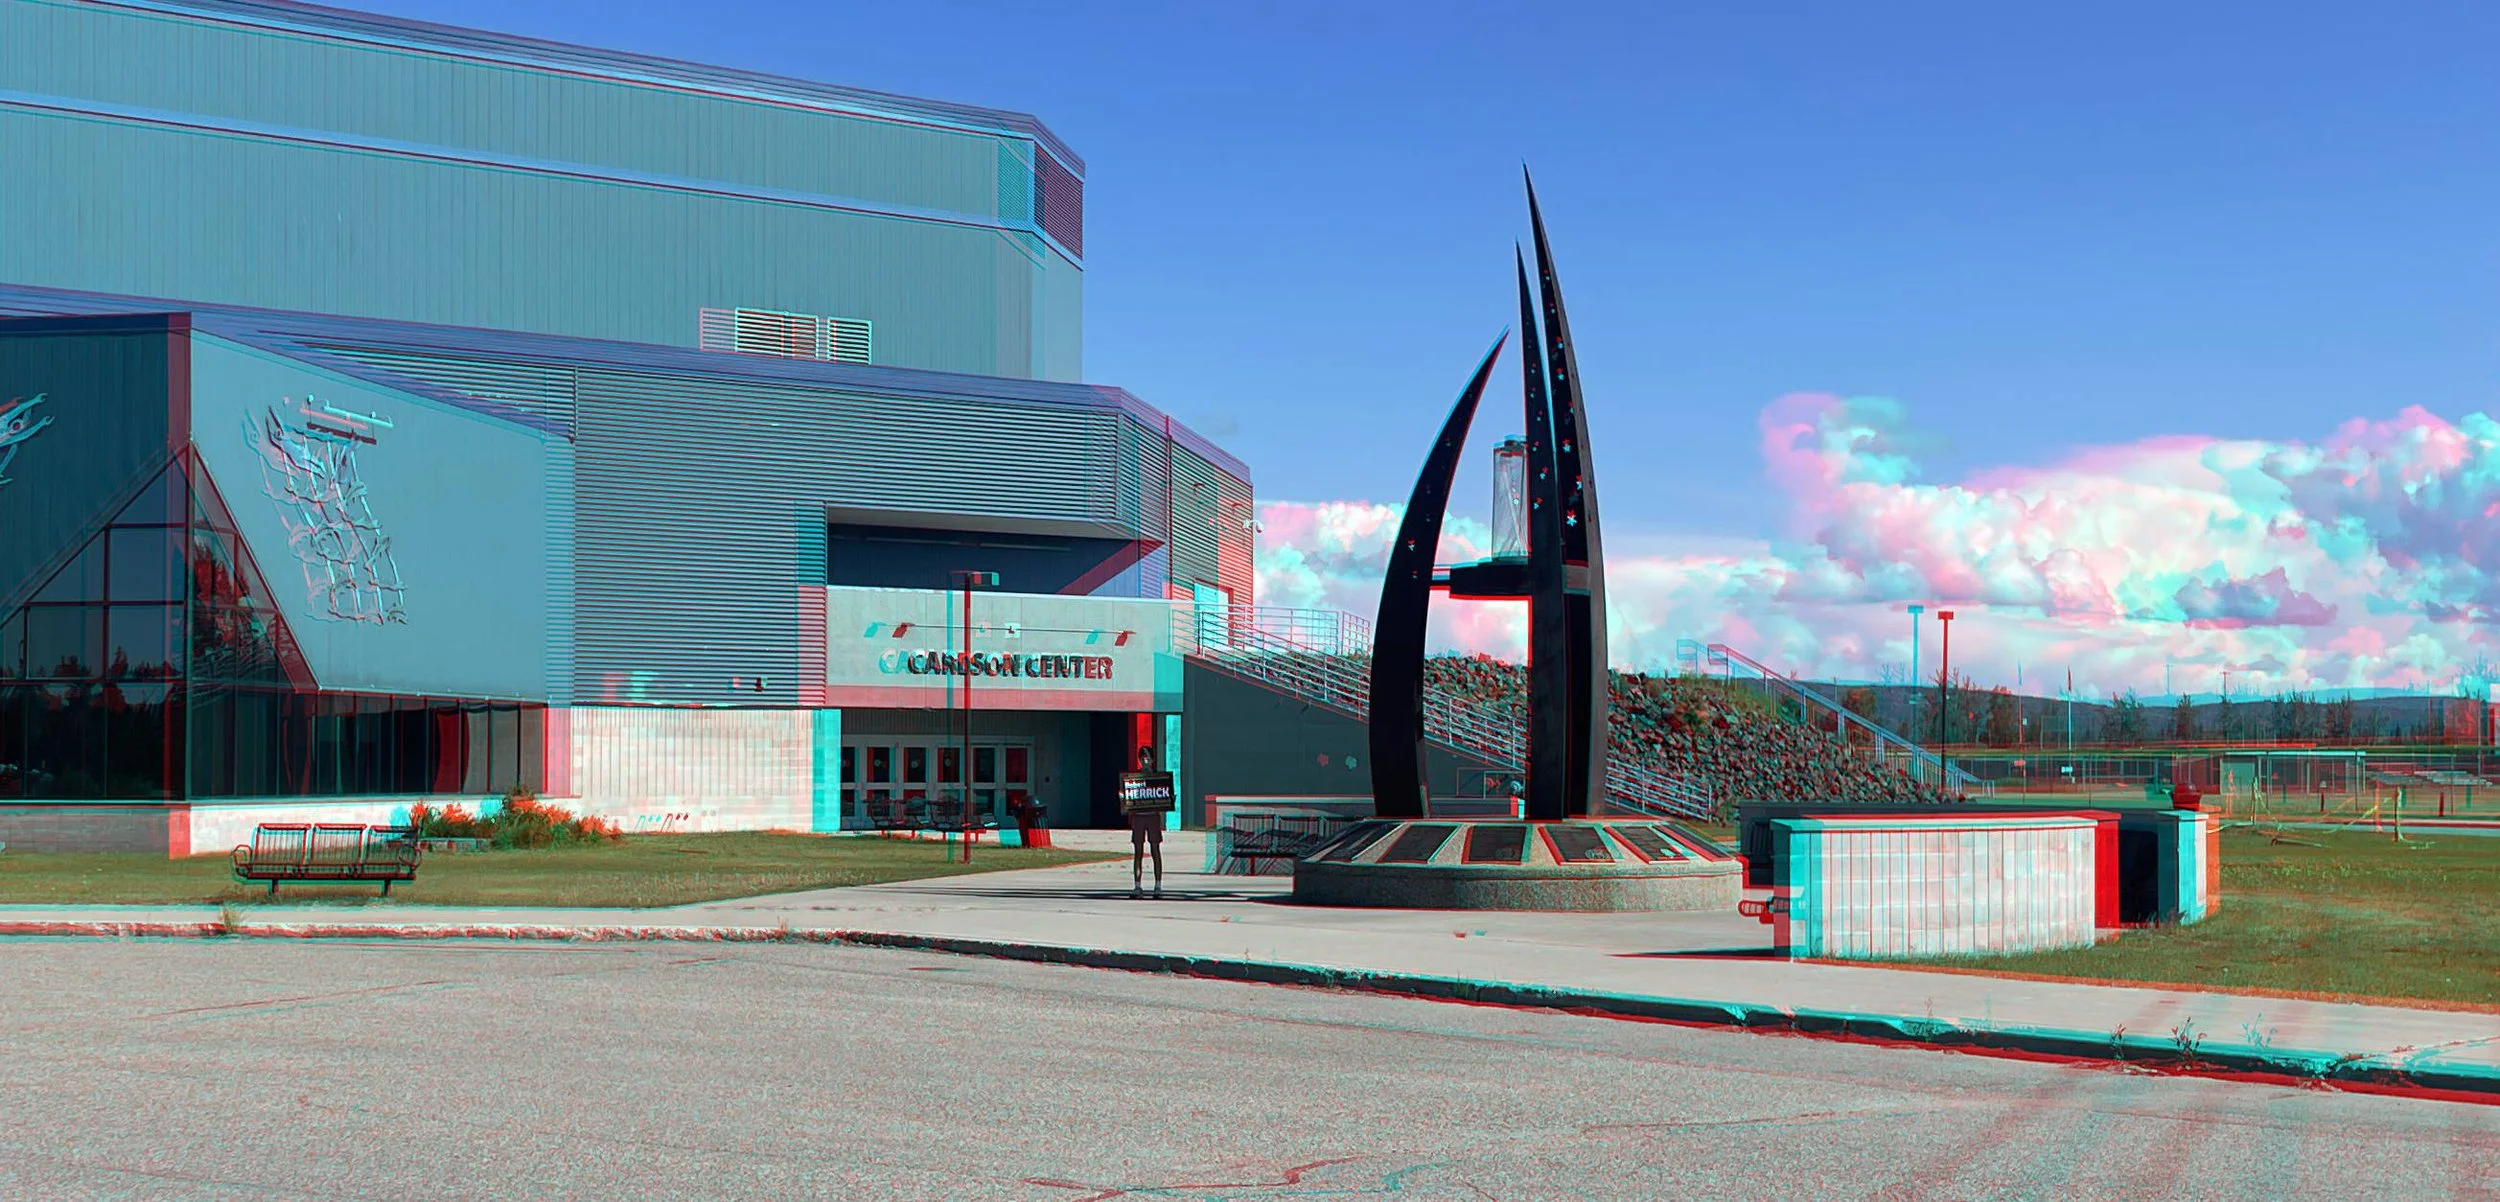
Carlson Center
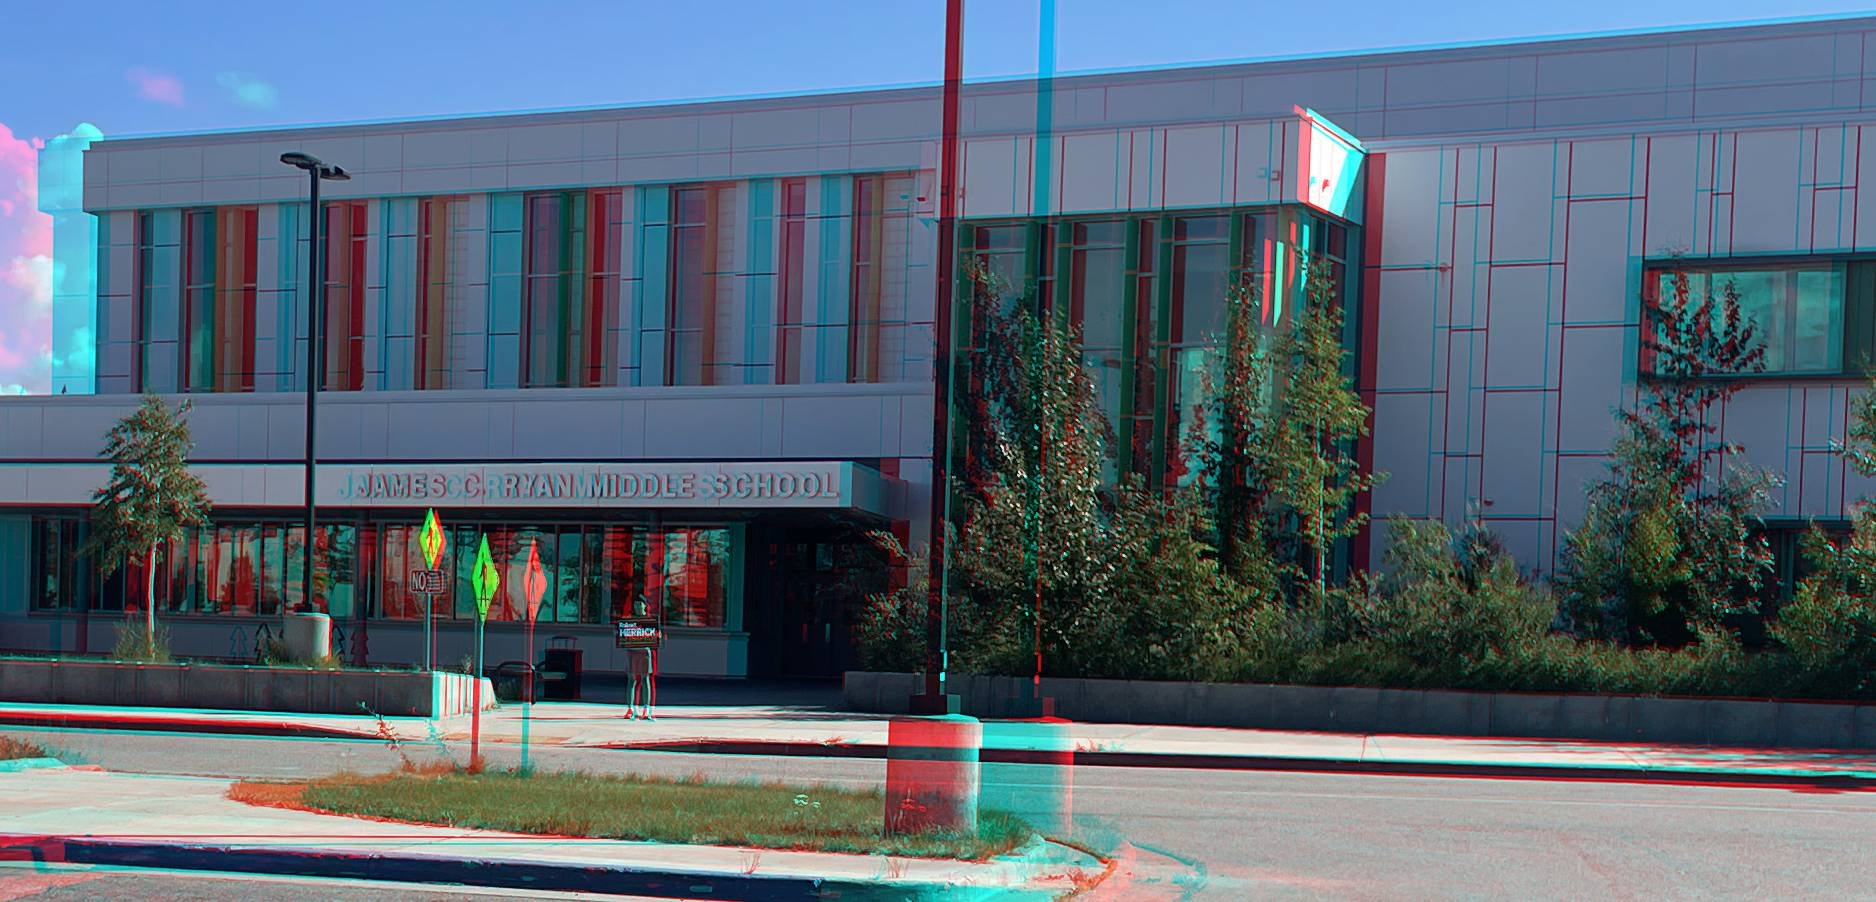
Ryan Middle School
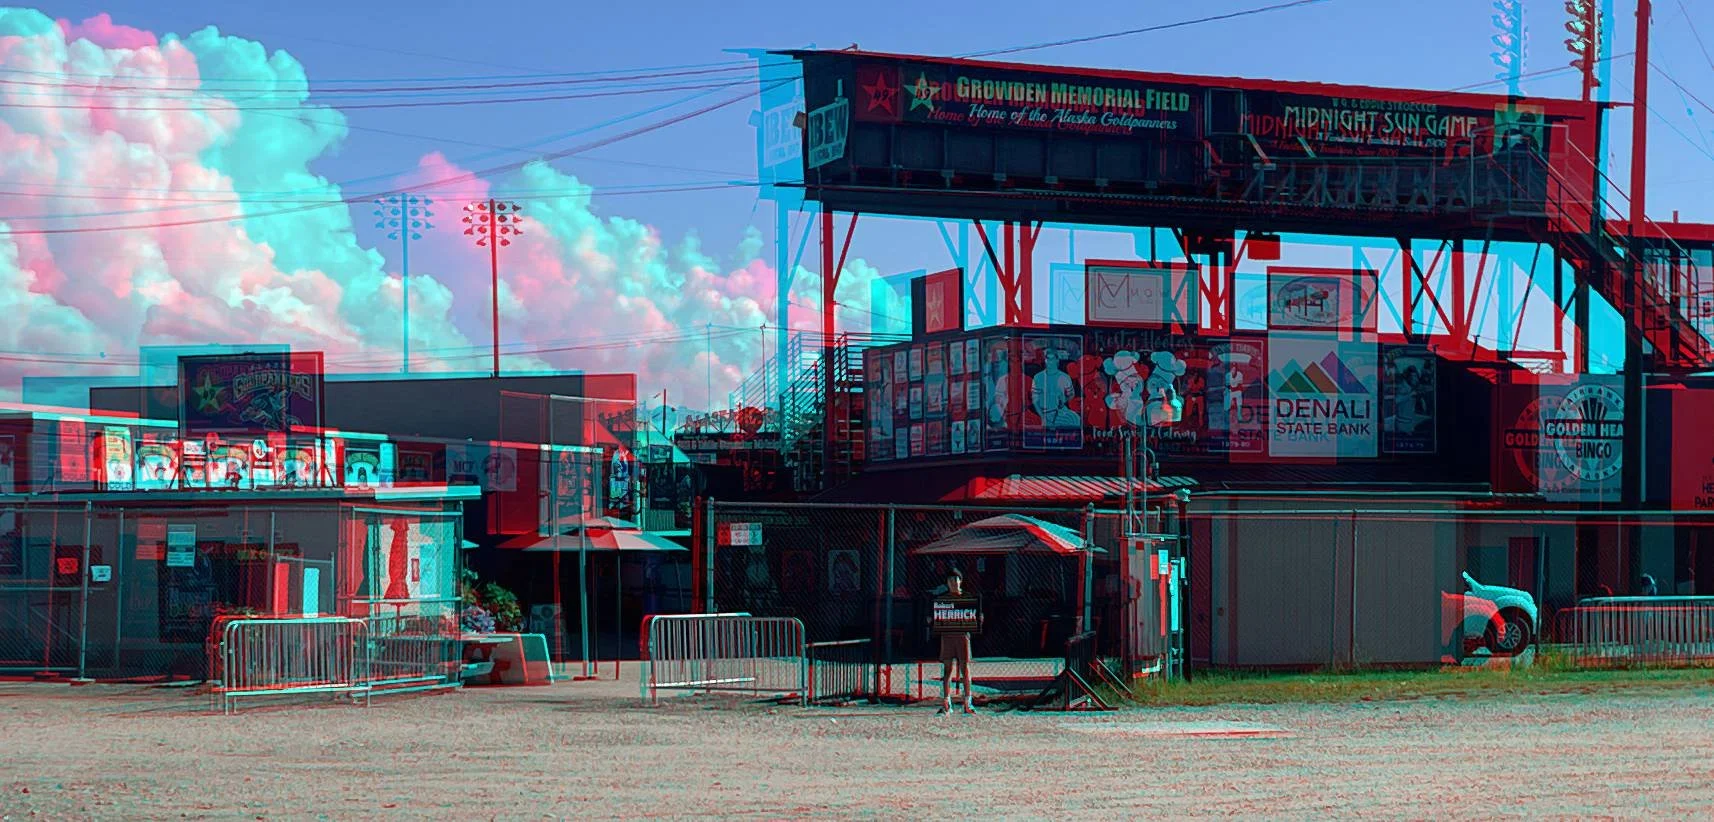
Growden Field
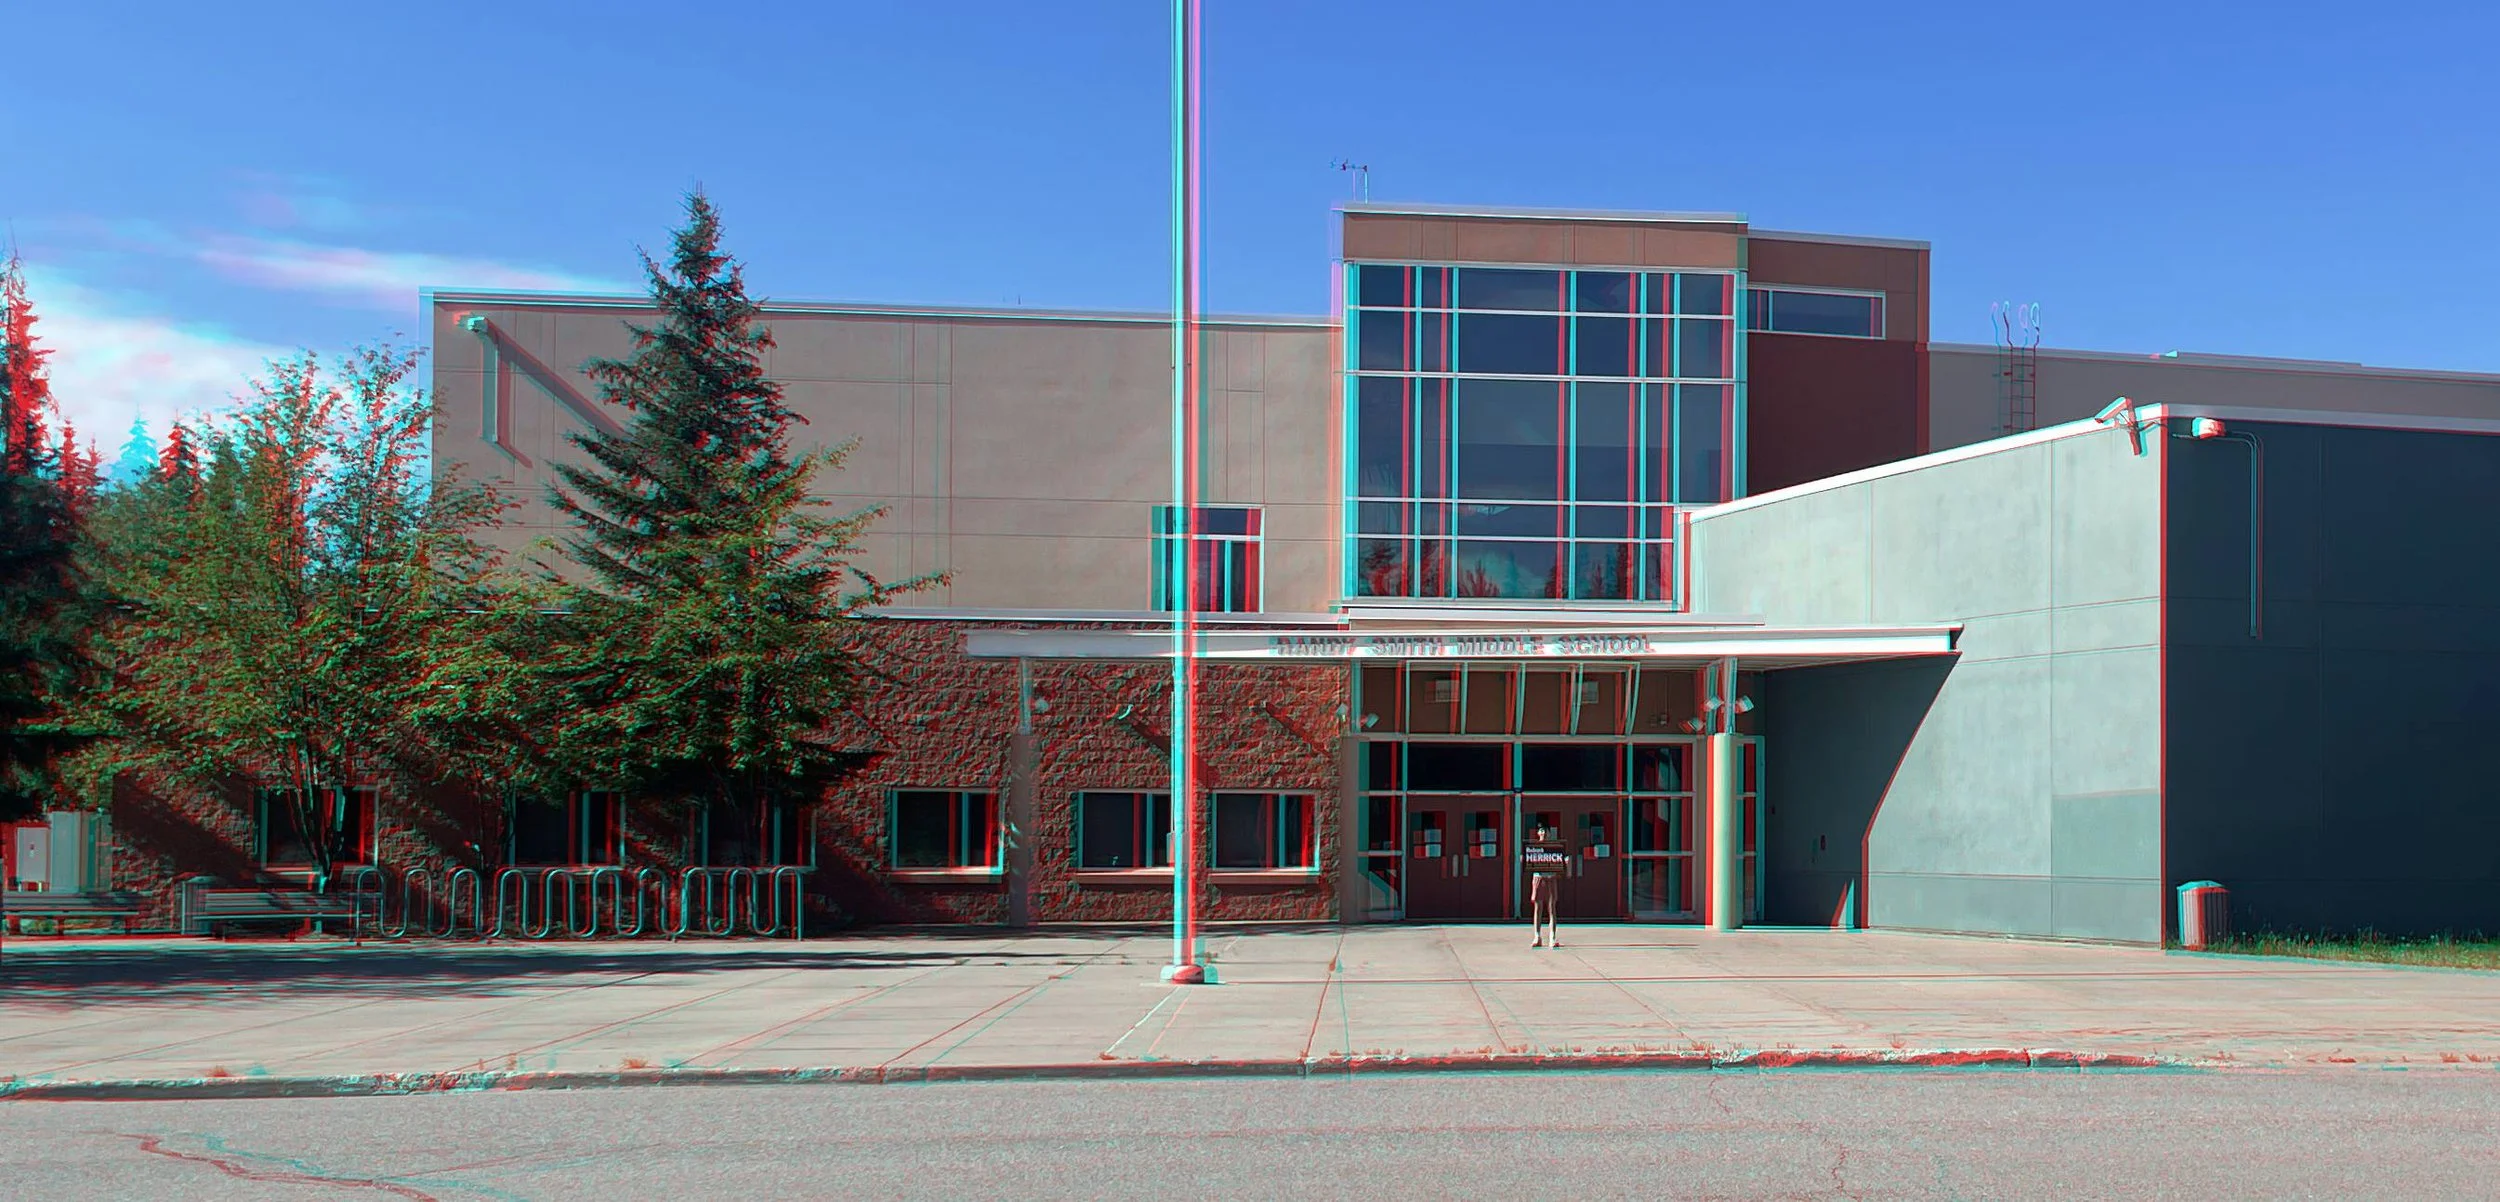
Randy Smith Middle School
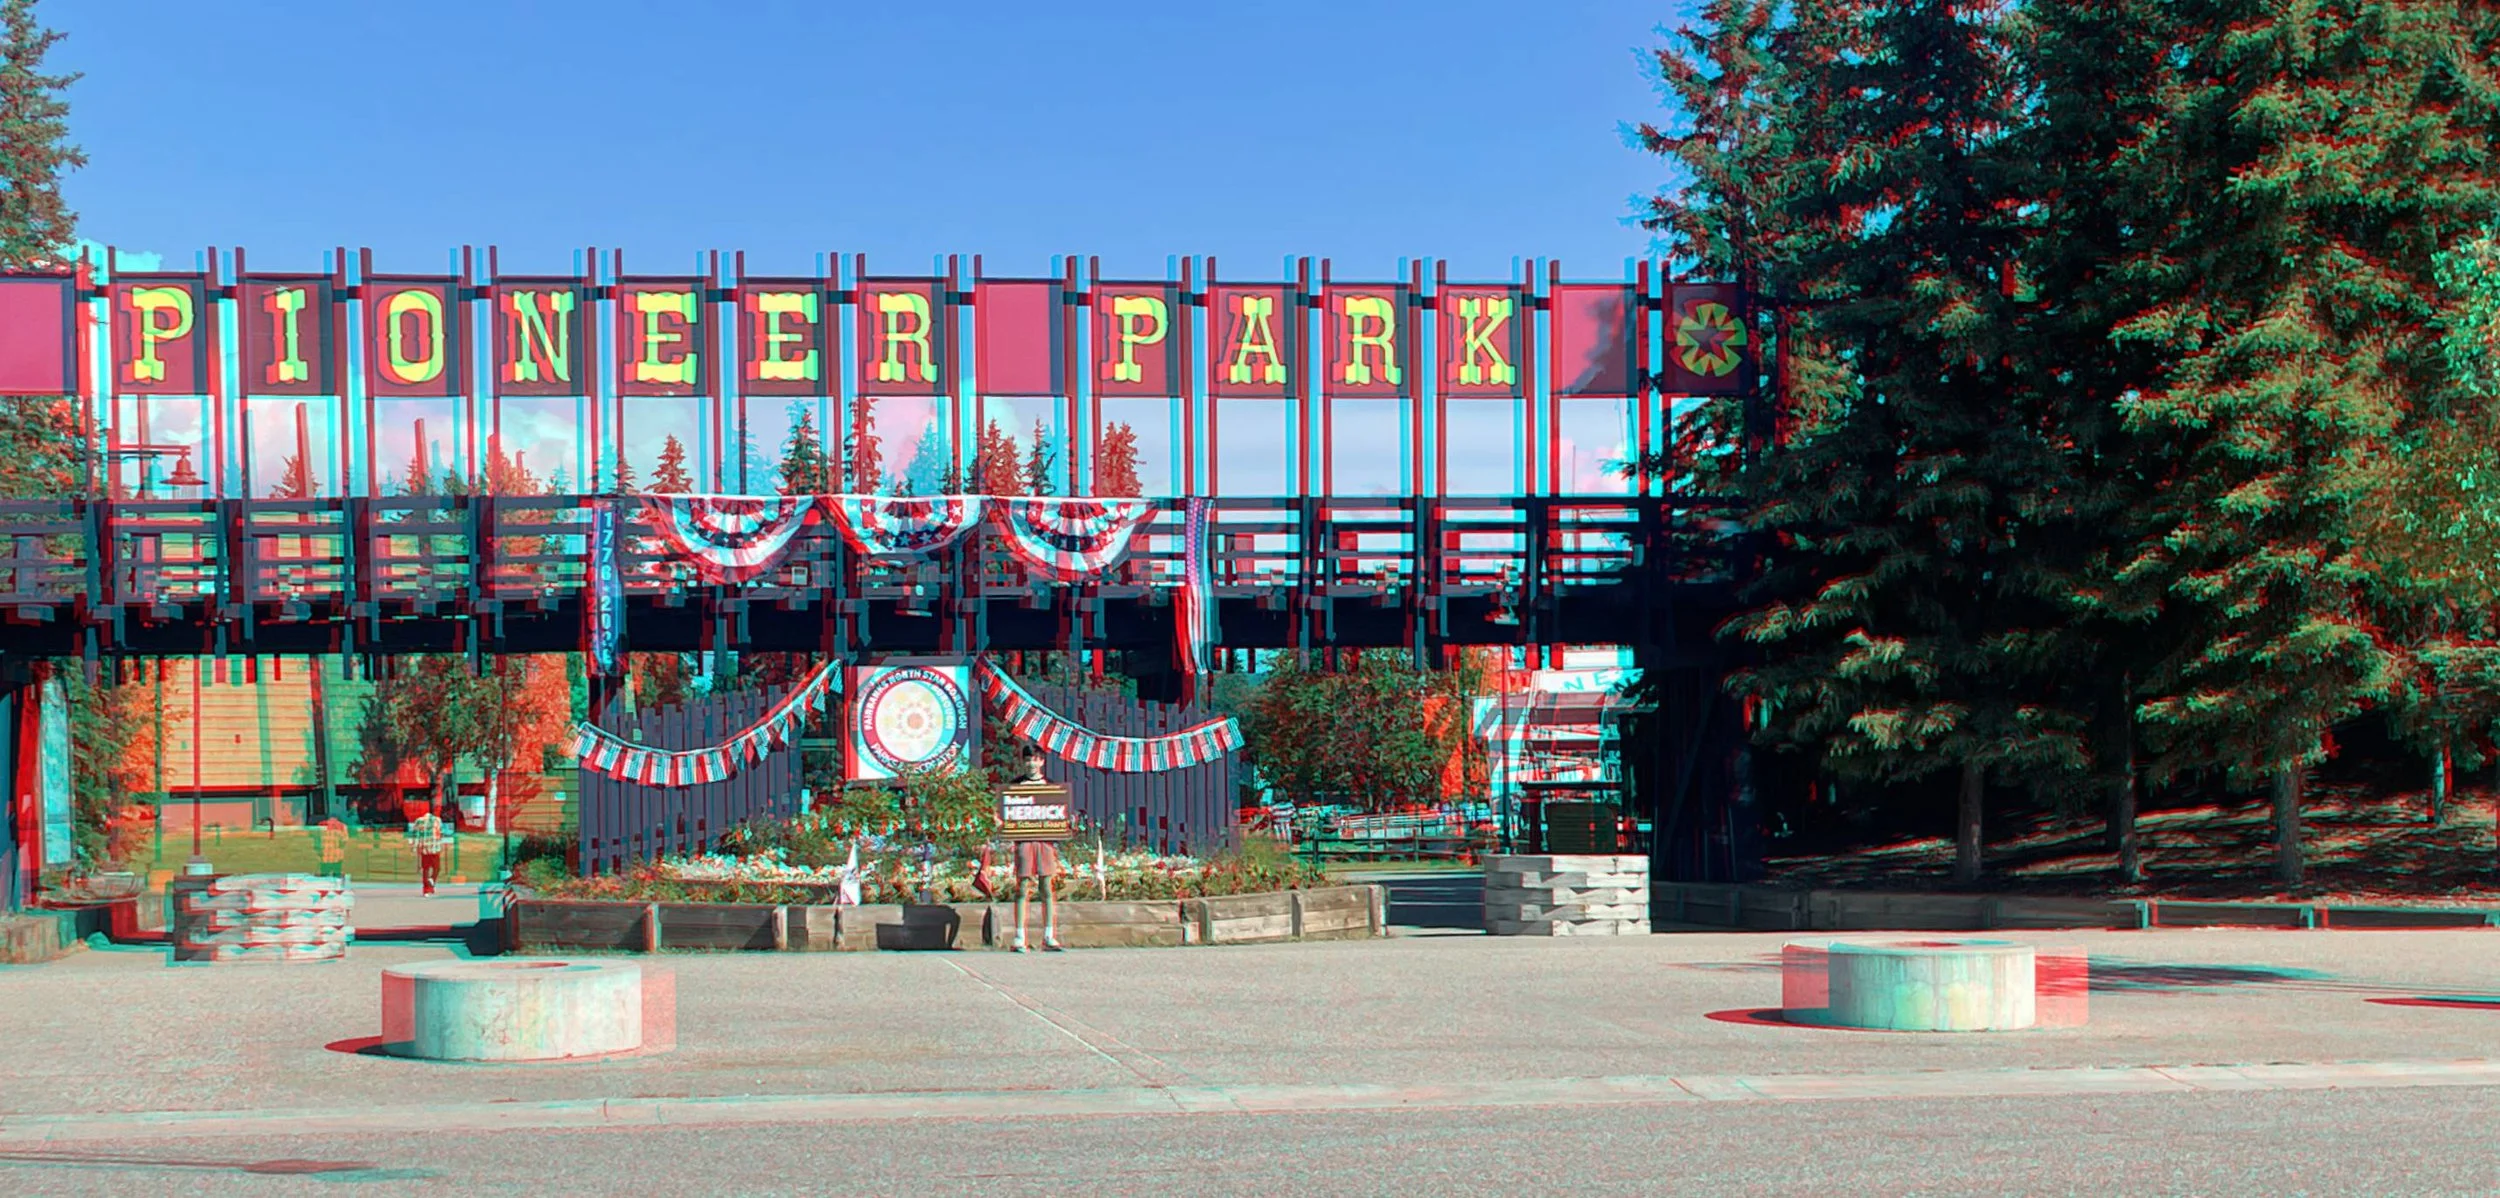
Pioneer Park (now Alaskaland)
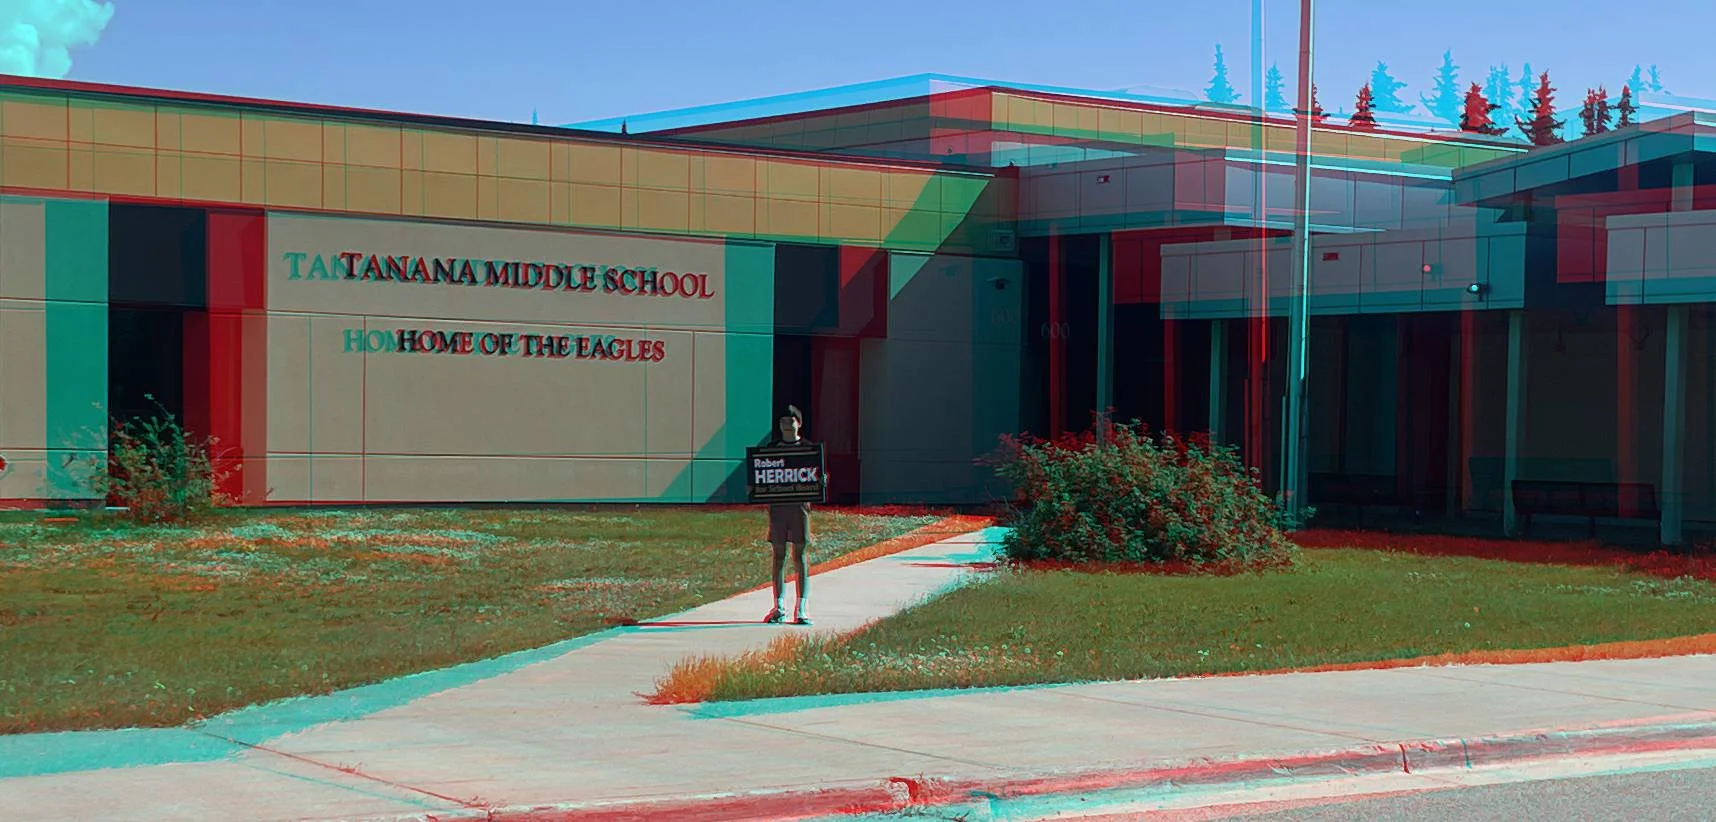
Tanana Middle School
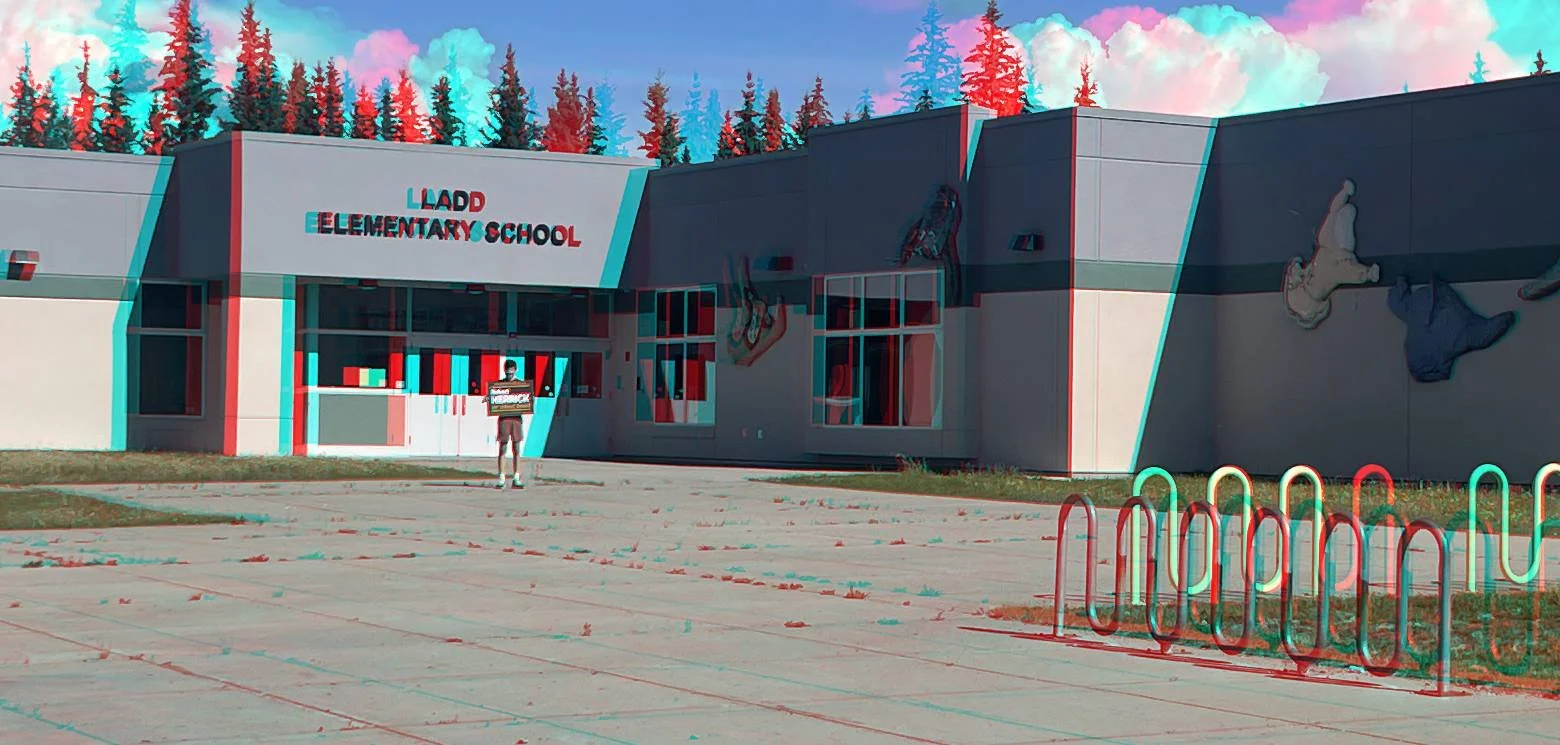
Ladd Elementary School
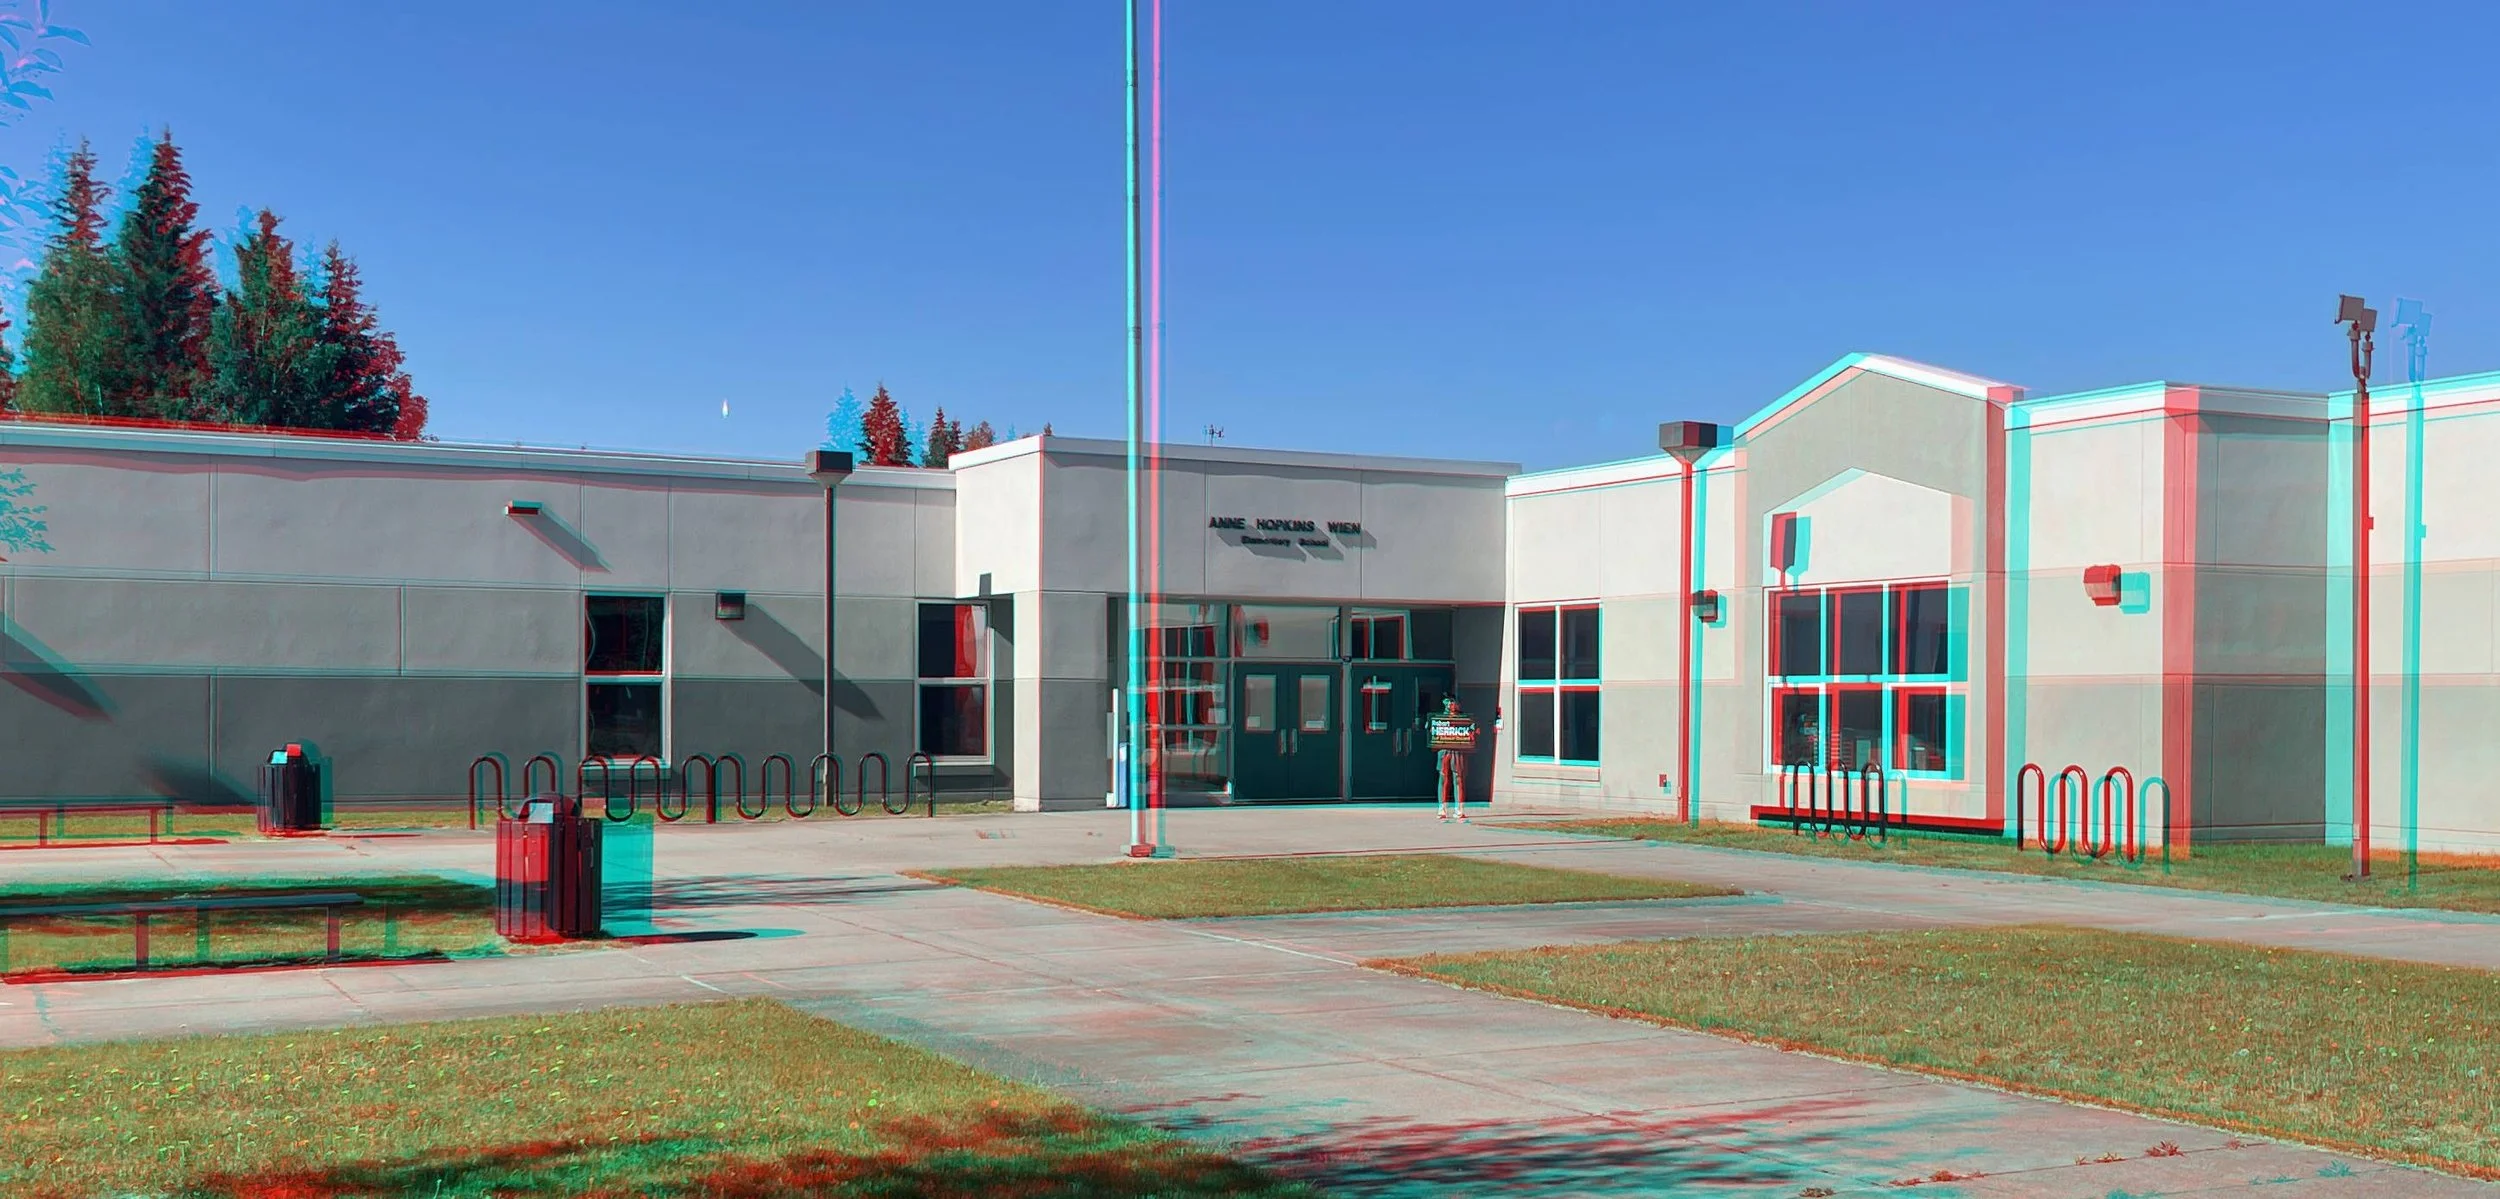
Anne Wien Elementary School
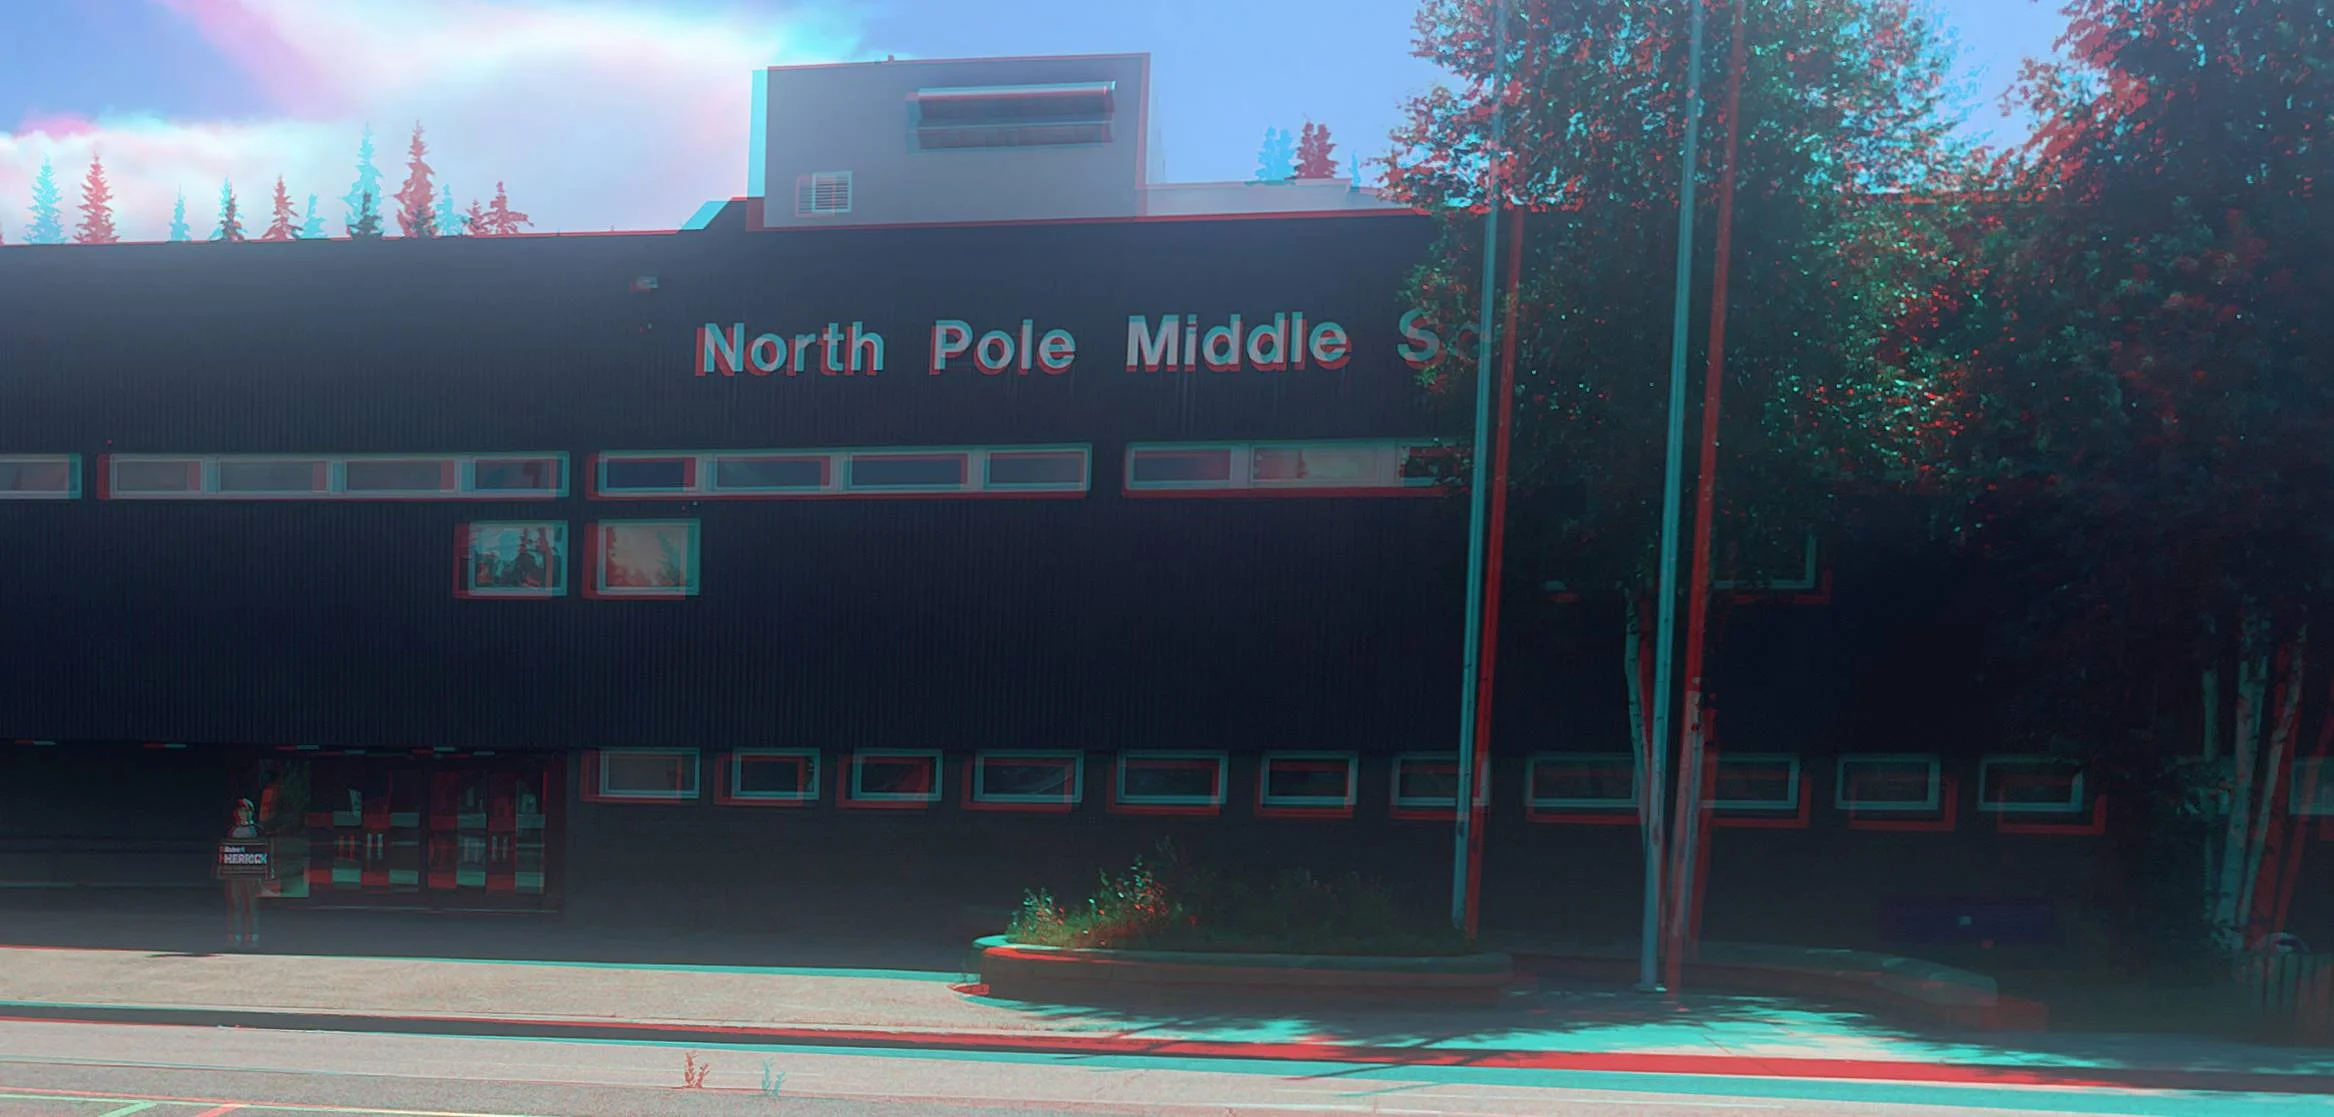
North Pole Middle School
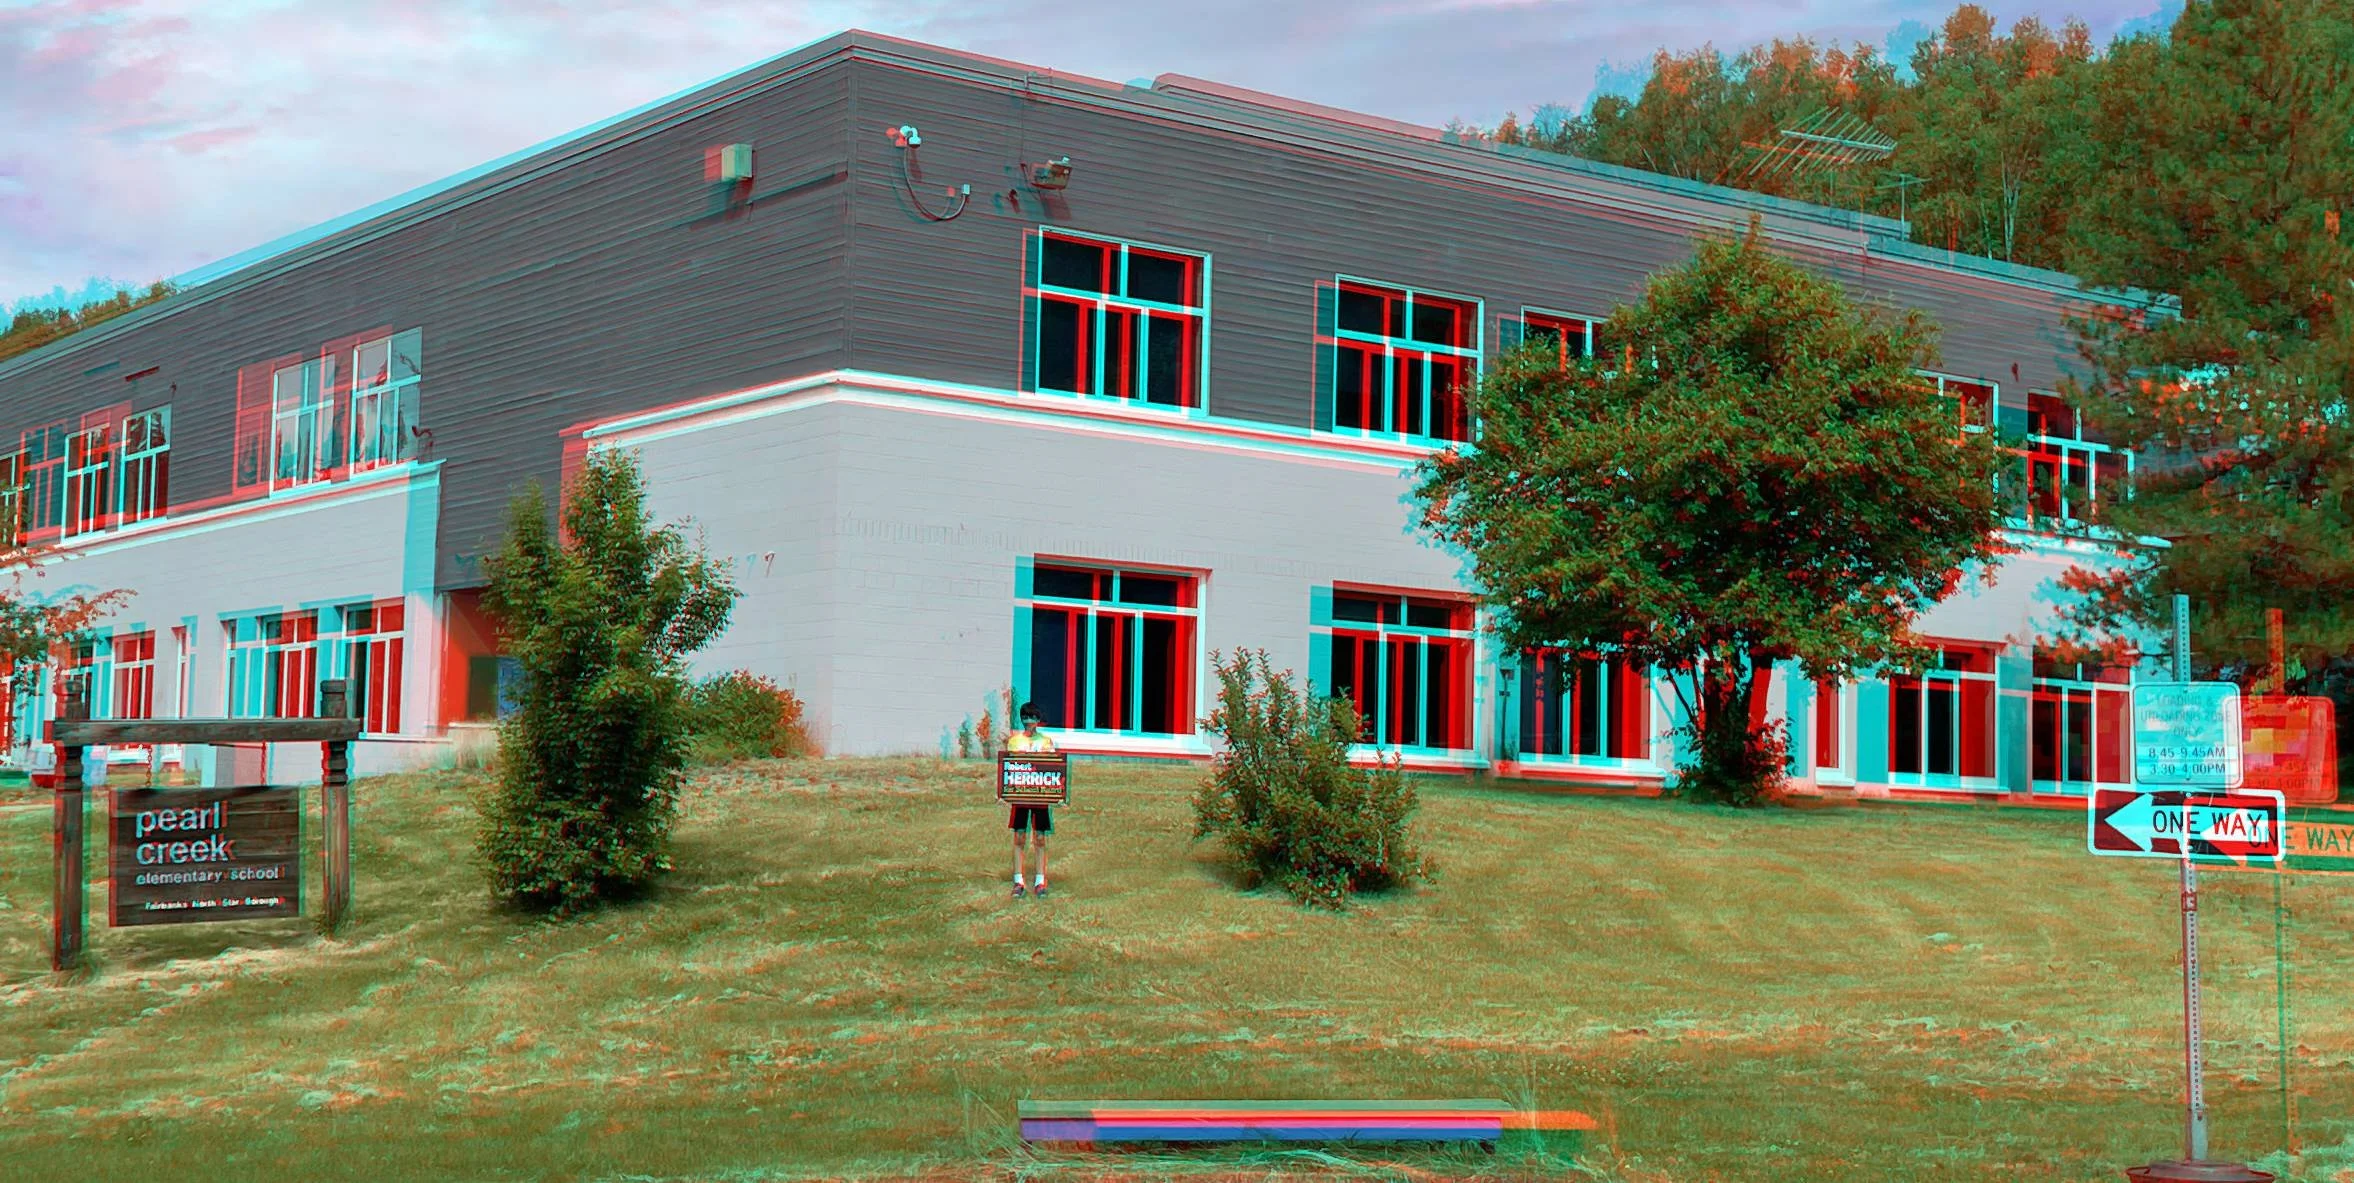
Pearl Creek Elementary
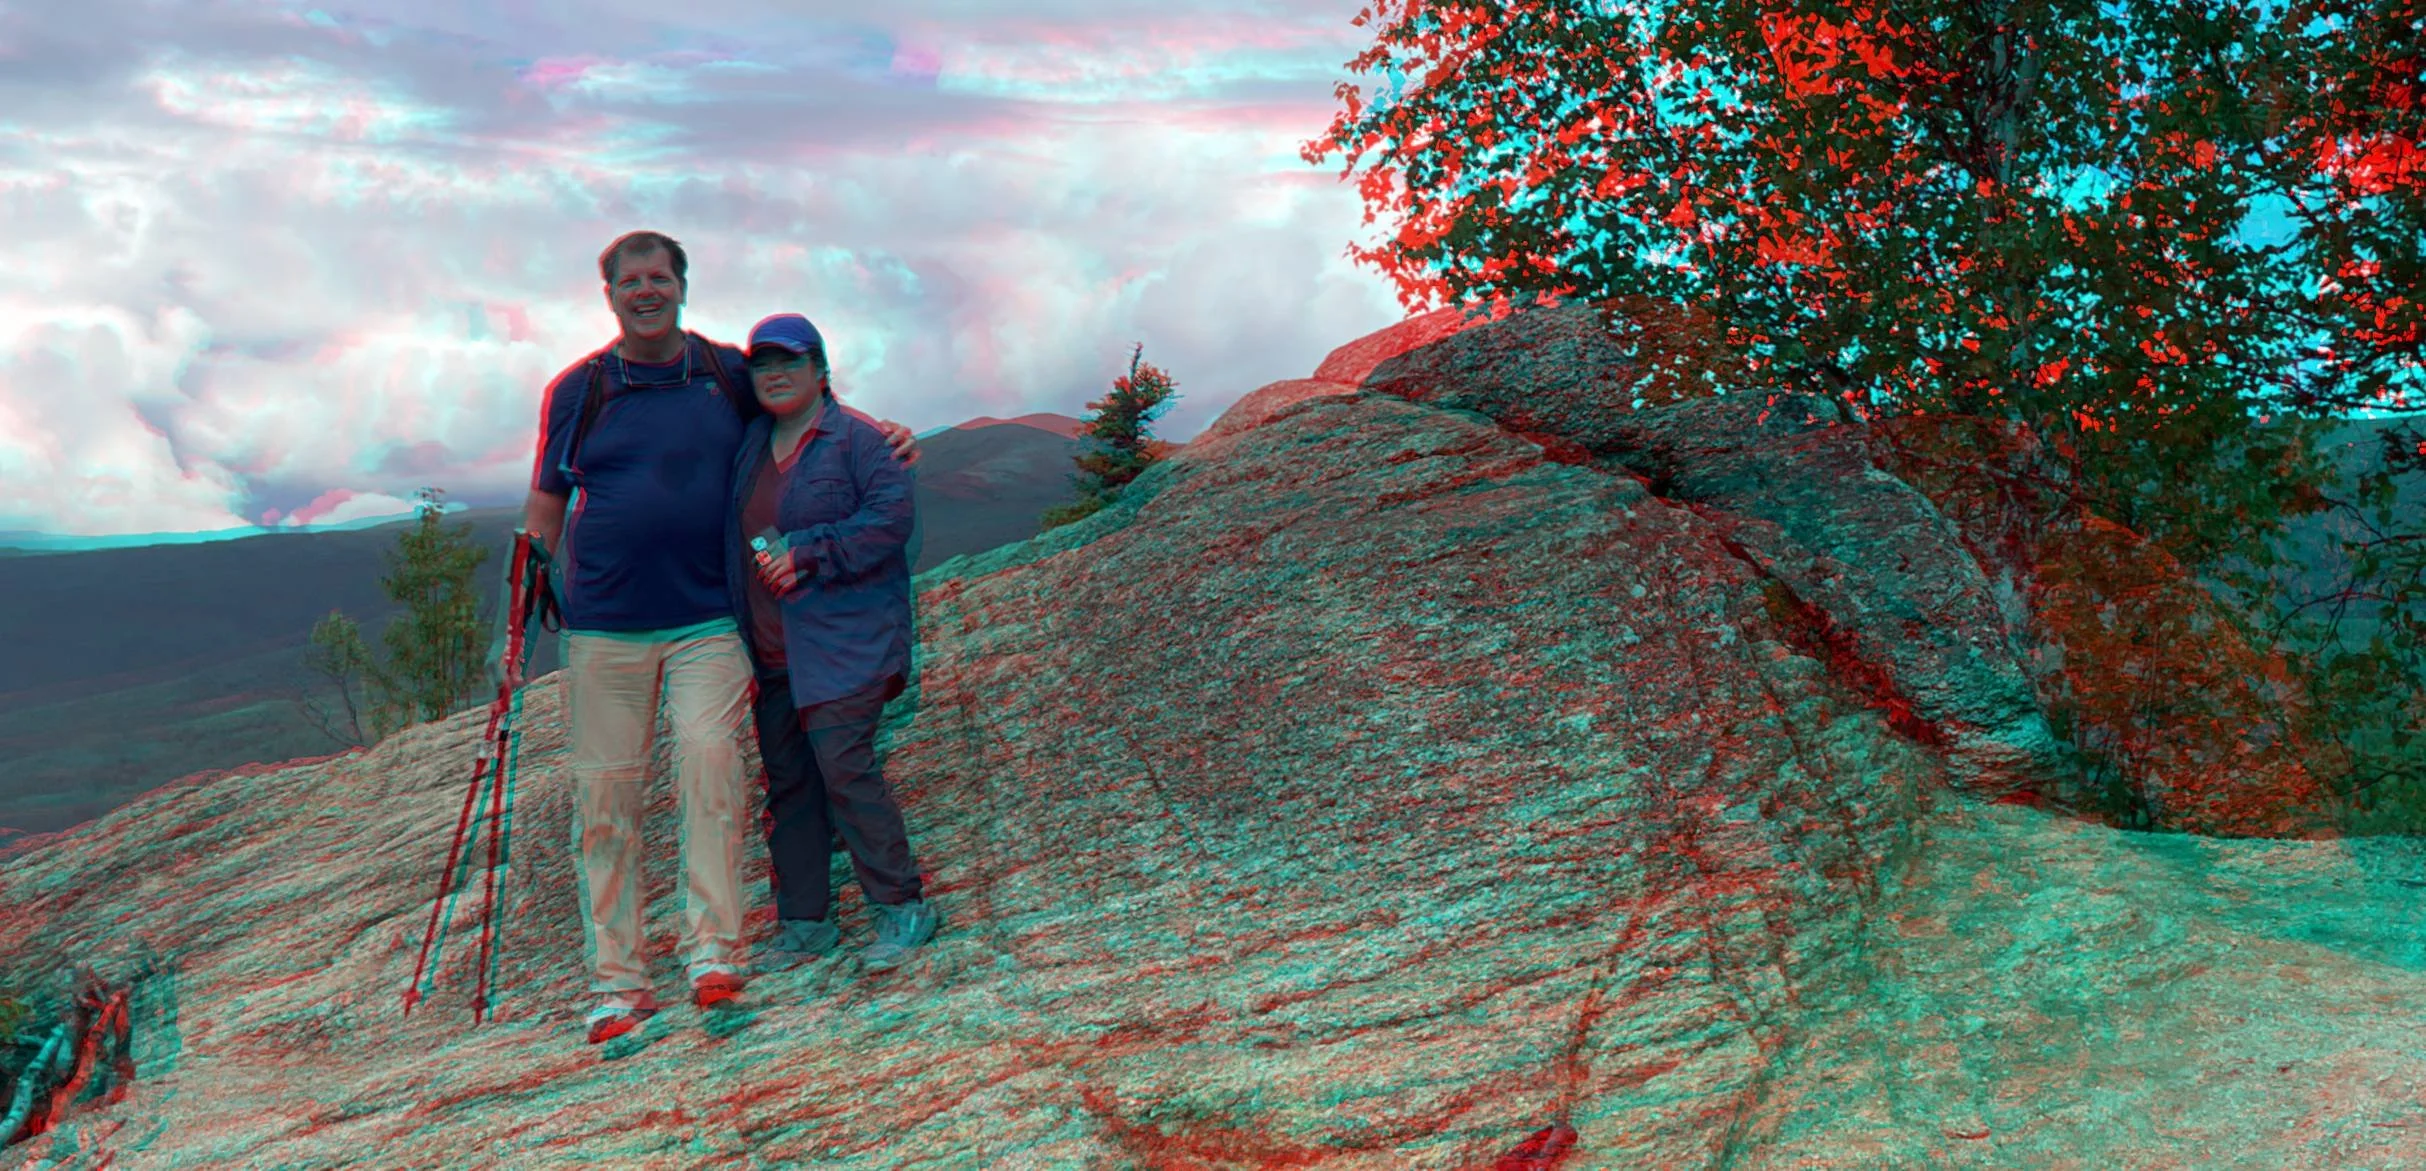
Robert & Keiko halfway up Angel Rocks
How it works:
Your eyes are separated by about 3 inches. If you hold your arm out in front of you with your thumb up, and close one eye and then the other, you will see your thumb shift relative to the distant background. Your brain can process this to give you depth perception and it can recognize those shifts out to about 20 feet. A 3D anaglyph works by taking two photos from two different positions, effectively looking at the scene with your eyeballs separated by that amount. By assigning one image to the left eye and the other to the right eye with a color filter (the red-blue glasses) you create the 3D view.
How to make your own glasses
All we need to do is put something that lets through only the red part of the visible spectrum over the left eye and something that lets through only blue over our right eye. Options for this are purchasing red and blue cellophane at a crafts store, or printing red and blue on clear transparency film. To make it a little more sophisticated you can print a template for some glasses on construction paper stock and cut out and tape cellophane to your glasses “frame”. A web search on “make your own 3D anaglyph glasses” will give you some templates and examples. Here’s a link to NASA’s instructions for making your own glasses:
https://science.nasa.gov/resource/build-your-own-3d-glasses/
You can also order glasses online from Amazon, including more durable ones with real glasses frames and plastic lenses.
More 3D anaglyph images
A search on “3D anaglyph images” will get you plenty of examples, you want ones that work with Red-Blue or Red-Cyan glasses. A few good libraries of stuff:
NASA Planetary Photojournal has a gallery of images of a variety of planets:
https://science.nasa.gov/photojournal/galleries/pj-anaglyphs/
USGS Astrogeology branch has a few nice shots from Earth’s moon:
https://astrogeology.usgs.gov/search/map/moon-apollo-anaglyph-3d-images
This web site has a whole variety of image libraries:
How to make your own anaglyph images
It is pretty easy to make your own. All of the above images were made with an iphone and total time for production was about 5 minutes. You just take two images of the same scene, and for the second one you move the camera sideways to the right by ~1/60th of the distance to the point you want the image centered on. In most of the above shots I positioned my son, stepped out 60 paces, then took two pictures separated by a pace. Then you just need software that loads the first image into the Red channel and the second image into the Green and Blue channels in a manner where you can move the two images around until the focal points of both images lay on top of each other. I think Photoshop can do this. I used a piece of freeware available here (as always, buyer beware on freeware, although I have had no issues): https://stereo.jpn.org/eng/stphmkr/index.html. If you use that software, I used the Stereo → ColorAnaglyph → color(red/cyan) to make the above images.